Topics on this page
Oauth Client Jira Setup
You can configure your Jira instances for Conformity to communicate via OAuth.
Users should be able to create/update application links on their Jira instance.
- Log in to your Jira Instance.
-
From the Applications tab, select Application links settings.
- For Jira on Premise - navigate to Jira settings (cog icon) > Applications > Application links.
- For Jira Cloud - navigate to Jira settings (cog icon) > Products > Application links.
-
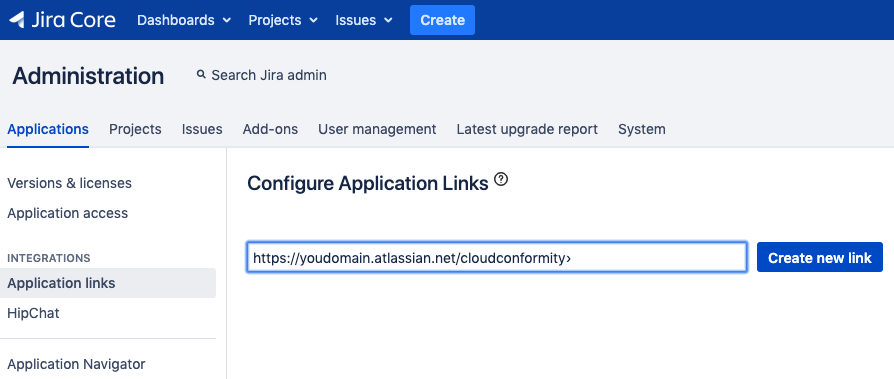
In the Enter the URL of the application you want to link field, Enter
{your Jira instance URL}:{port}/cloudconformitythen Click Create new link.
For example, the URL would become https://yourdomain.atlassian.net/cloudconformity if your Jira instance is https://yourdomain.atlassian.net.
-
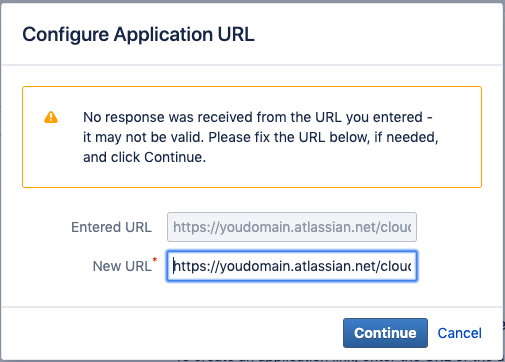
Click Continue
-
Add the following information and click Continue.
- Application Name: CloudConformity
- Application Type: Generic Application
- Service Provider Name: Cloud Conformity
- Consumer key: CloudConformity
- Shared secret: CloudConformity
- Request Token URL: https://yourdomain.atlassian.net/cloudconformity
- Access token URL: https://yourdomain.atlassian.net/cloudconformity
- Authorize URL: https://yourdomain.atlassian.net/cloudconformity
- Create incoming link: {Check}
-
Add the following information and click Continue.
- Consumer Key: CloudConformity
- Consumer Name: CloudConformity
- Public Key:
---BEGIN PUBLIC KEY----
MIGfMA0GCSqGSIb3DQEBAQUAA4GNADCBiQKBgQCRMU74RaKHDKfENpuRB/wdfIAapgAuwJLCF1f
Ef/d58qvSF06zu0toqtvHgsetTTAxLxcCt829UbjMwTEgE7E09t+9UMEUL7WUueUsV5sWtJ86Sl
HFjK5dRmI6HRfXfpe9Y5tml5D9mhavmO2xp+X8z3TUR6AiKGM0SSLUGkzKDQIDAQAB
----END PUBLIC KEY----
-
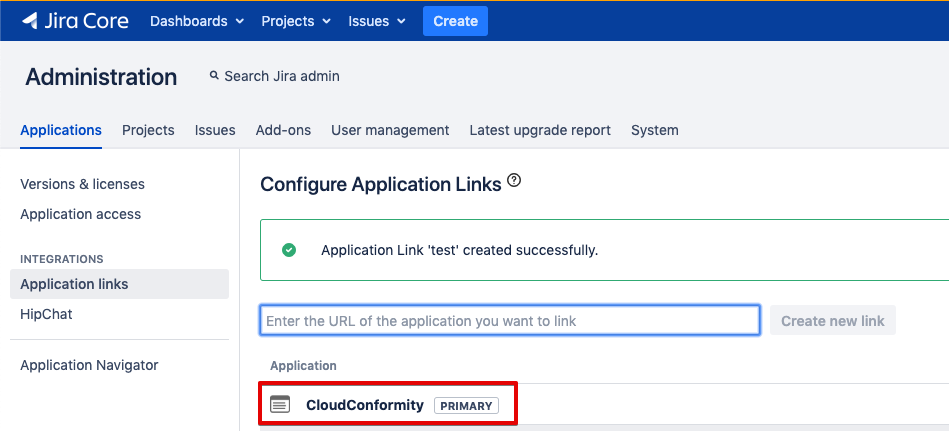
Upon successfully completing these steps you should see CloudConformity under Applications