Topics on this page
Add A GCP Account
| Location | Main Dashboard>Select Add an account |
User Access
| User Role | Can Access |
|---|---|
| Administrator | |
| Power User | |
| Custom - Full Access | |
| Read Only | |
| Custom - Read Only |
Set up access to Conformity GCP
You need a GCP service account to enable access to Conformity GCP. The GCP Service Account provides the necessary read-only permissions to run the rule checks against the subscription resources to be added to your Conformity organization.
What is a Service Account? A service account is a special type of Google account that is associated with an application, instead of an individual end-user. Conformity assumes the identity of the service account to call Google APIs so that users aren't directly involved.
To set up a GCP Service Account, go to your GCP console and complete the following steps.
- Prerequisite Enable Google APIs
- Create a Custom Role
- Create a GCP Service Account for Conformity
- Assign access to the Service Account for Projects
- Add a GCP account to Conformity
Prerequisite: Enable Google APIs
Before you can create a GCP service account for Conformity, you'll need to enable Google APIs under your existing GCP account within every project.
- Log in to your existing GCP account. Ensure that this account has access to all the GCP projects that you want to protect with Conformity.
- Select the project that you want to add to Conformity. If you have multiple projects, you can select them later. For example **Cloud Conformity Project 01
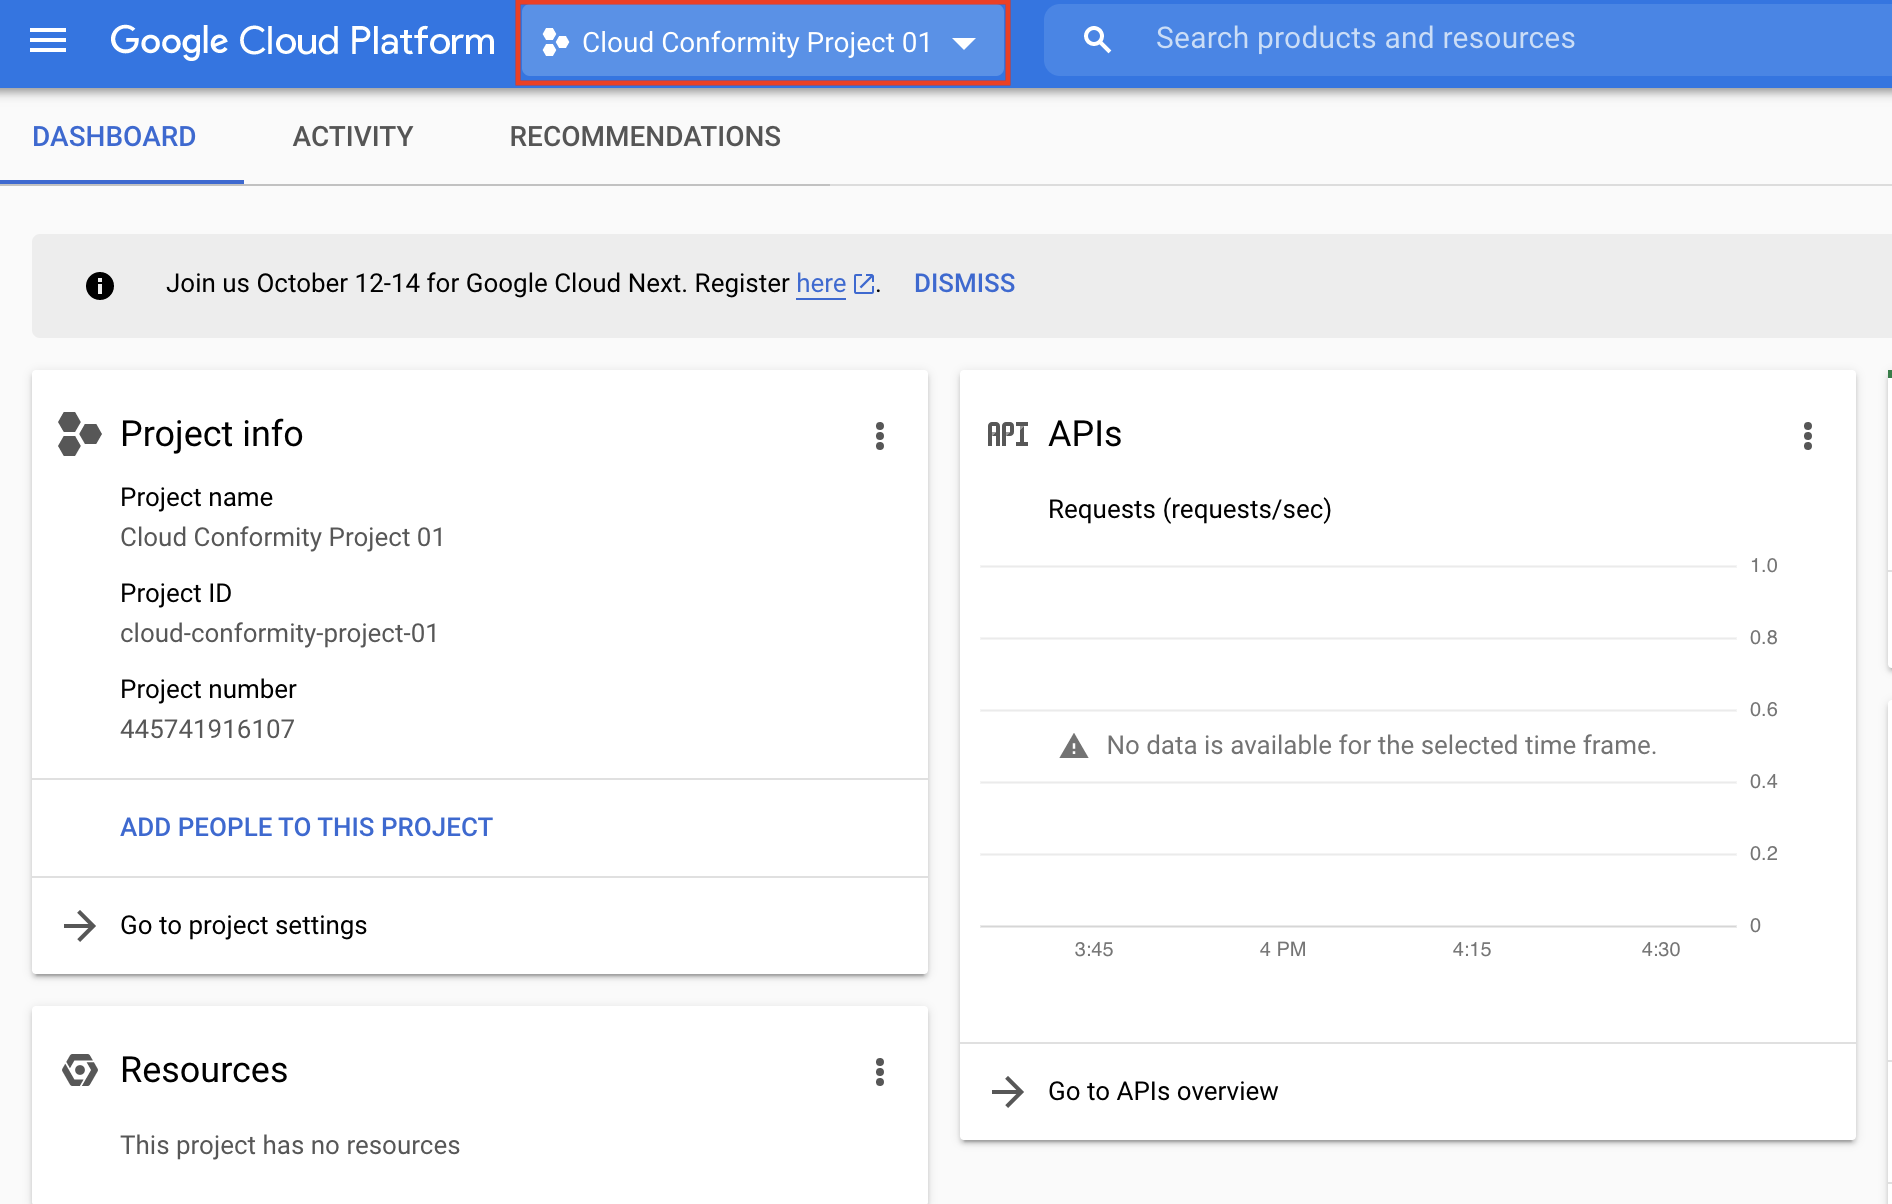
- Click Google Cloud Platform make sure you're on the Home screen.
- From the tree view on the left, select APIs & Services > Dashboard.
- Click + ENABLE APIS AND SERVICES.
- In the search box, enter the Cloud Resource Manager API and then click the Cloud Resource Manager API box.
- Click ENABLE. Repeat steps 5 – 7 and add more API & Services currently supported by Conformity as per the table below:
| Service | APIs & Services |
|---|---|
| AlloyDB | AlloyDB API |
| ApiGateway | API Gateway API Service Management API |
| Apigee | Apigee API |
| ArtifactRegistry | Artifact Registry API |
| BigQuery | BigQuery API |
| Bigtable | Bigtable API |
| CloudAPI | API Keys API |
| CloudIAM | Cloud Resource Manager API Identity and Access Management (IAM) API Access Approval API |
| CloudKMS | Cloud Key Management Service (KMS) API |
| CloudVPC | Compute Engine API |
| CloudStorage | Cloud Storage API |
| ComputeEngine | Compute Engine API |
| CloudSQL | Cloud SQL Admin API |
| CloudLoadBalancing | Compute Engine API |
| CloudDNS | Cloud DNS API |
| Dataproc | Cloud Dataproc API |
| Filestore | Cloud Filestore API |
| Firestore | Cloud Firestore API |
| GKE | Kubernetes Engine API |
| CloudLogging | Cloud Logging API |
| PubSub | Cloud Pub/Sub API |
| ResourceManager | Cloud Resource Manager API |
| Spanner | Cloud Spanner API |
| CertificateManager | Certificate Manager API |
| Memorystore | Cloud Memorystore for Memcached API Google Cloud Memorystore for Redis API |
| NetworkConnectivity | Compute Engine API Network Connectivity API |
| CloudFunctions | Cloud Functions API |
Repeat steps 1 – 9 to add more projects to Conformity. For more information, see this help page from Google on how to enable or disable APIs in GCP..
Create a Custom Role
You will need to Create a Custom Role for every GCP Project if you wish to add multiple projects to Conformity.
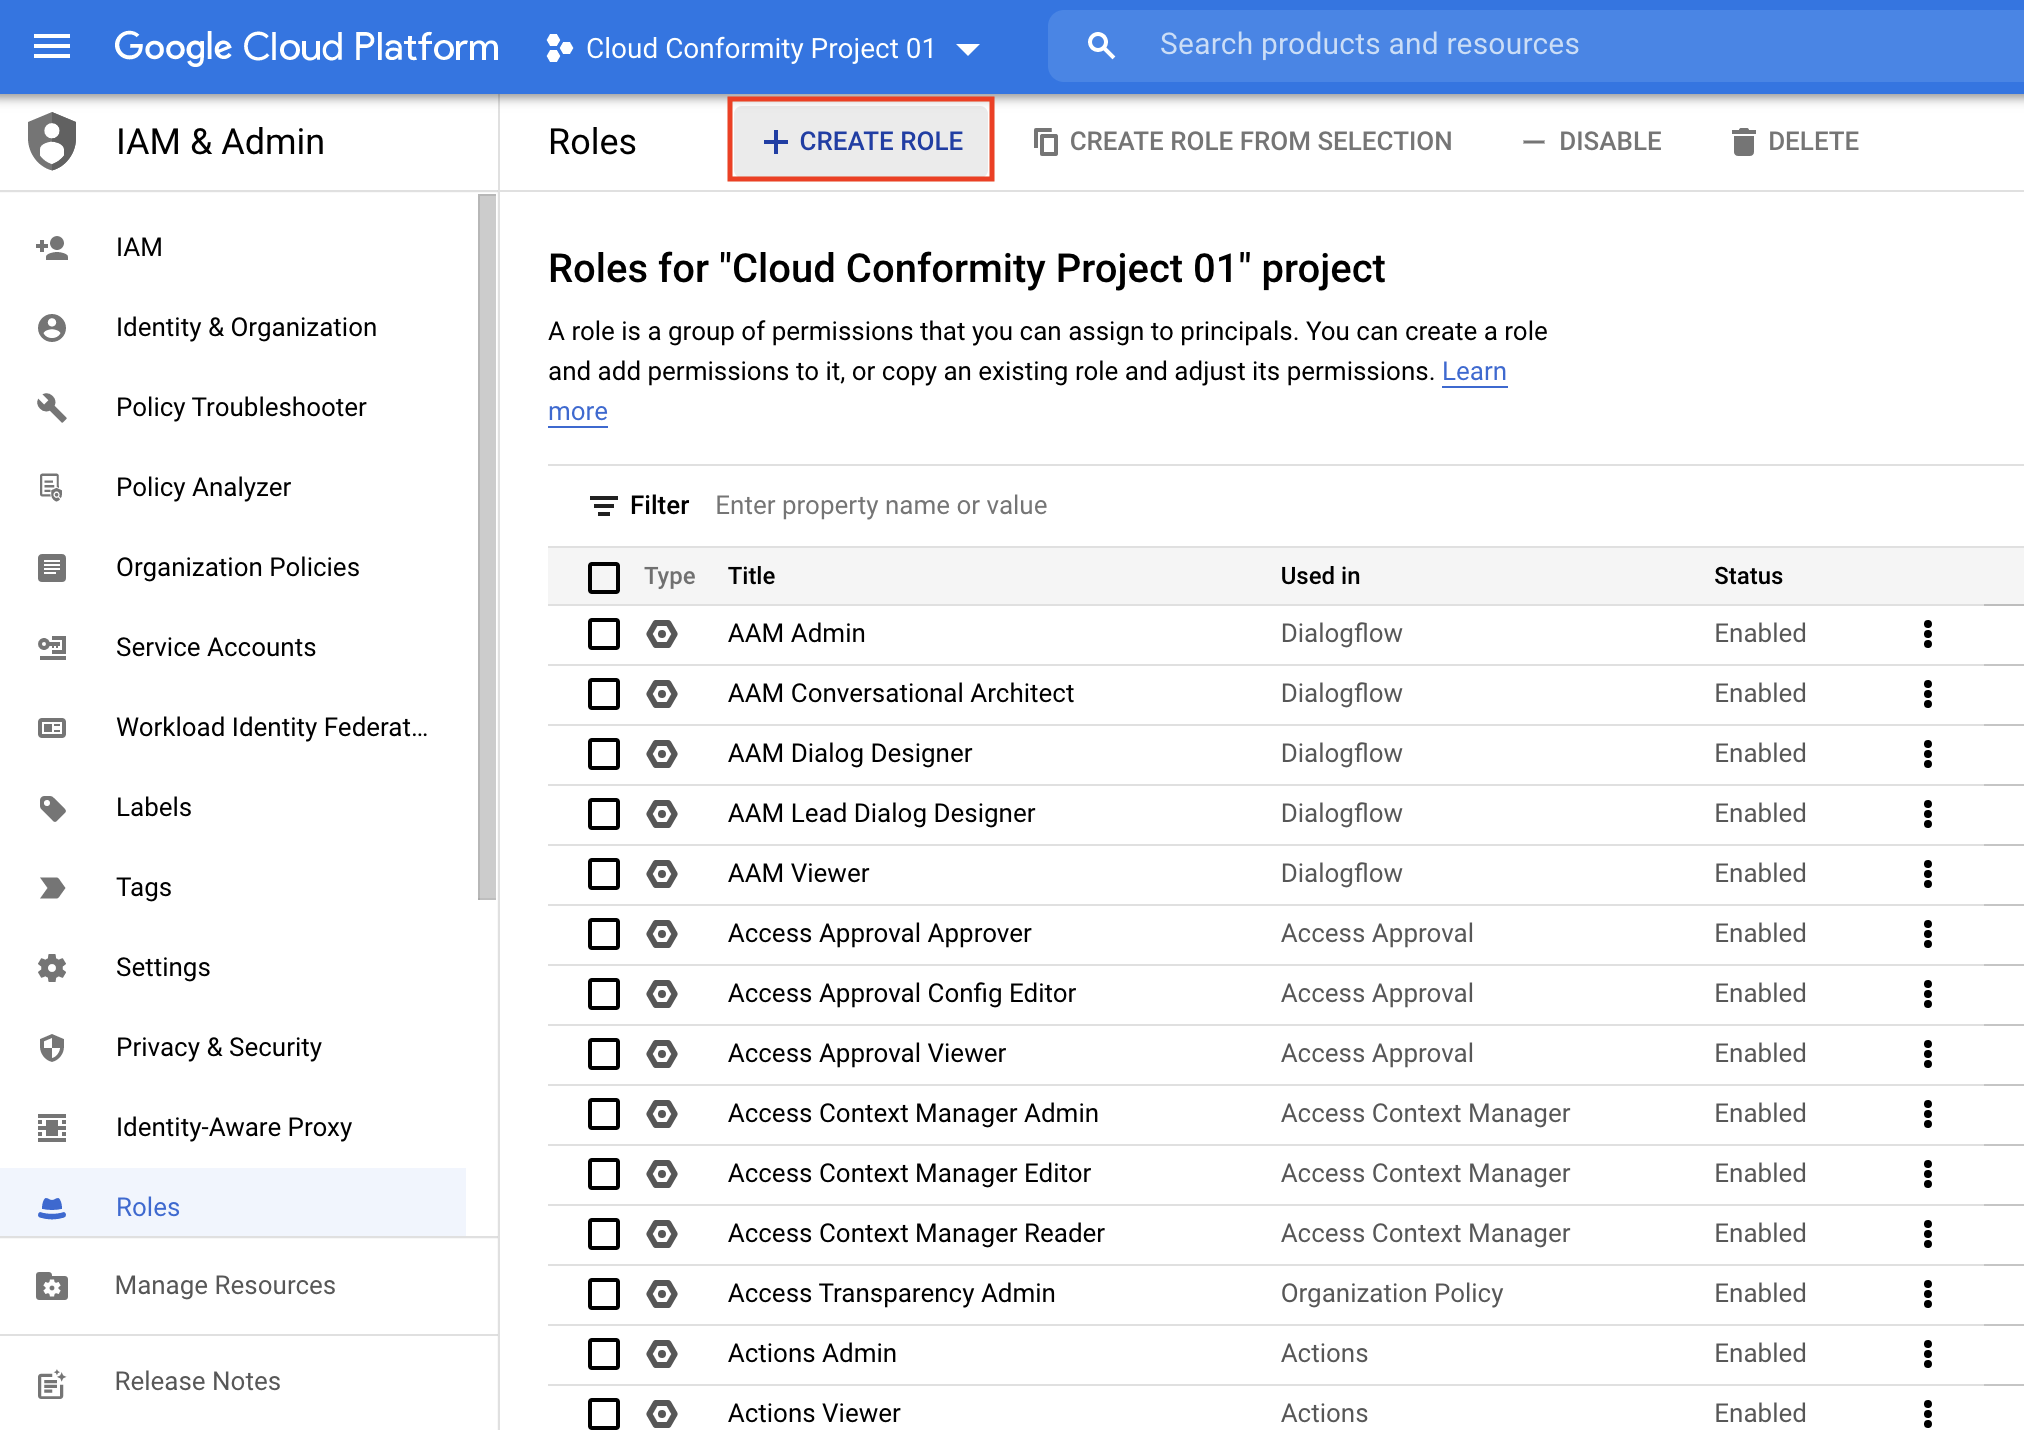
- From your GCP account, go to the IAM & Admin Roles page.
- From the top drop-down list, select the organization or project for which you want to create a role.
- Click Create Role.
- Enter a Title, Description, and Role launch stage.
For example:
- Title: Cloud One Conformity Access
- Description: Project level Custom Role for Cloud One Conformity access
- Role launch stage: Alpha
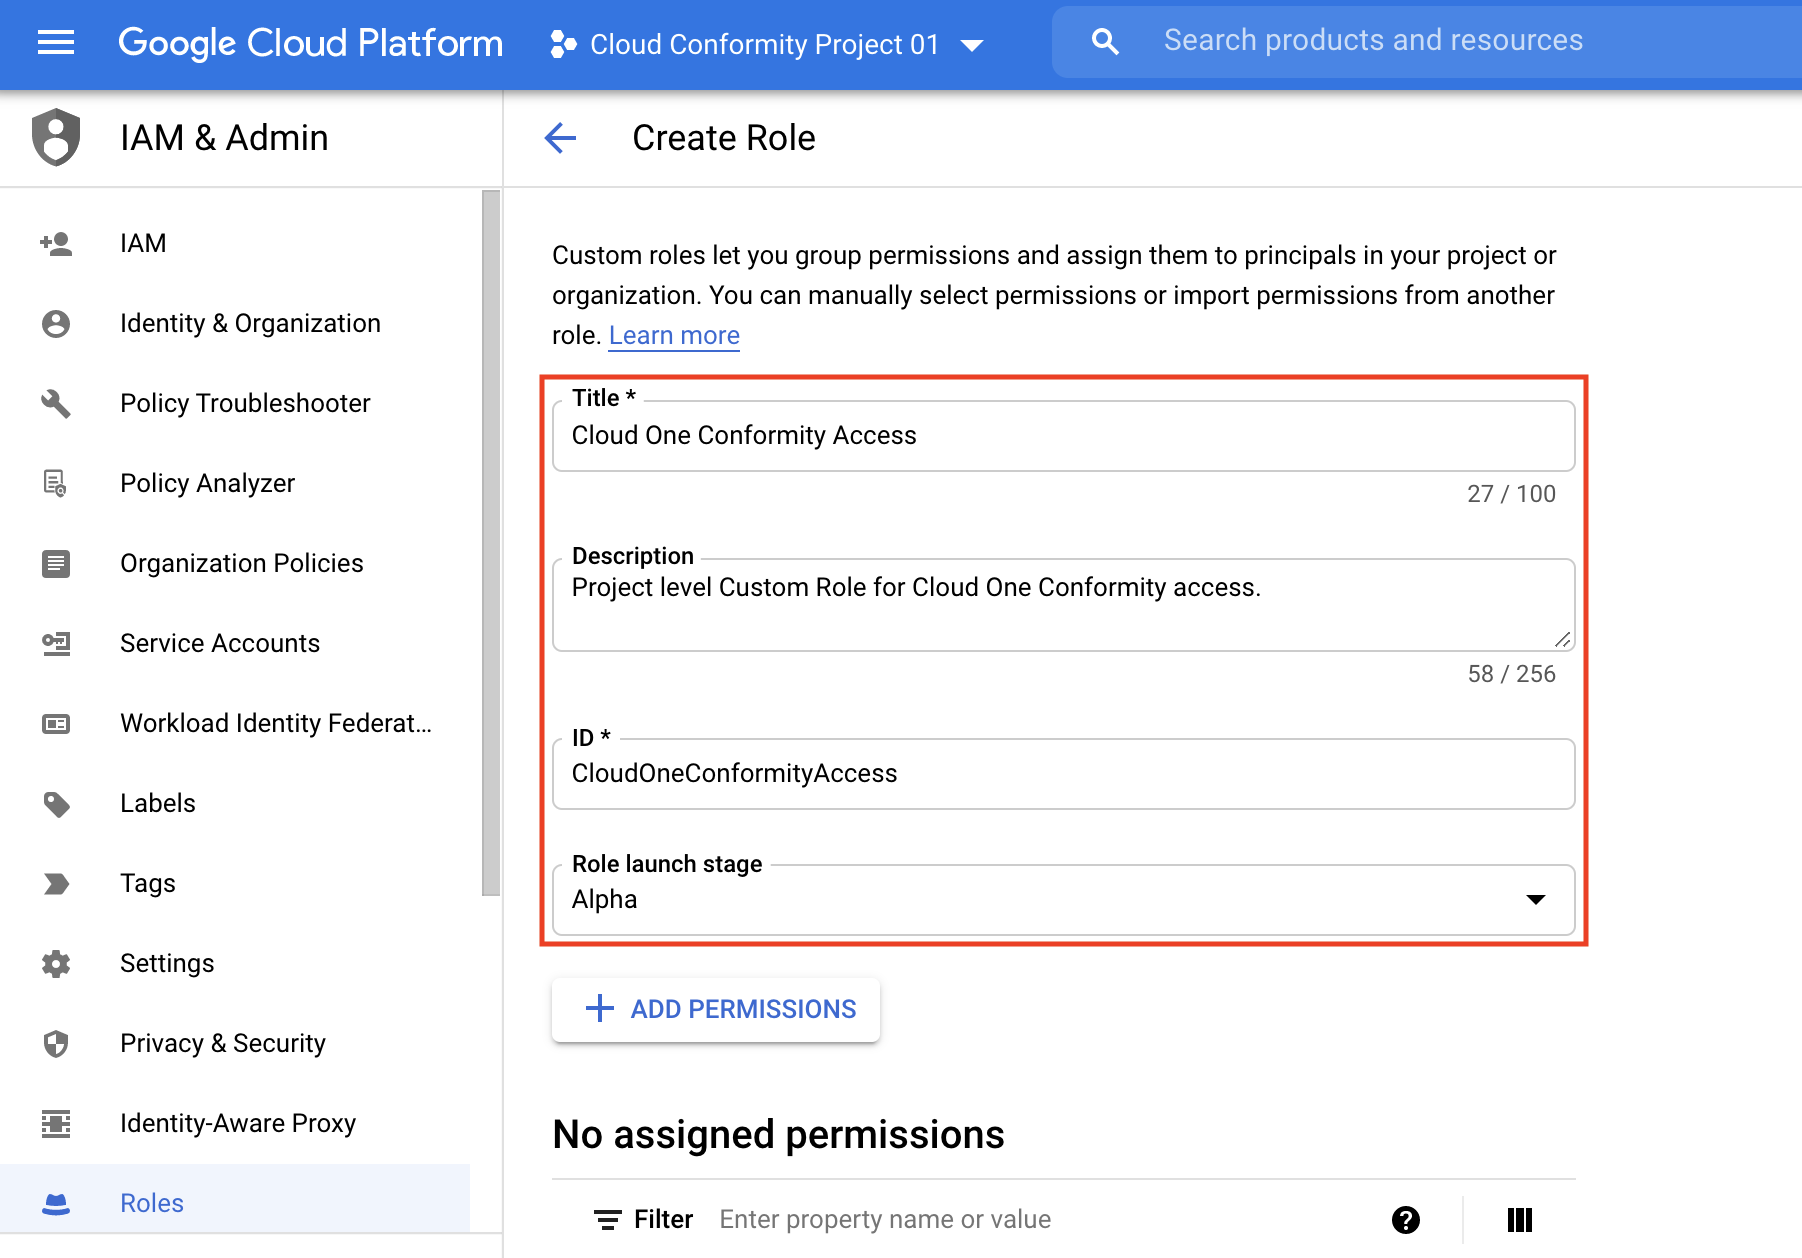
- Click +ADD PERMISSIONS.
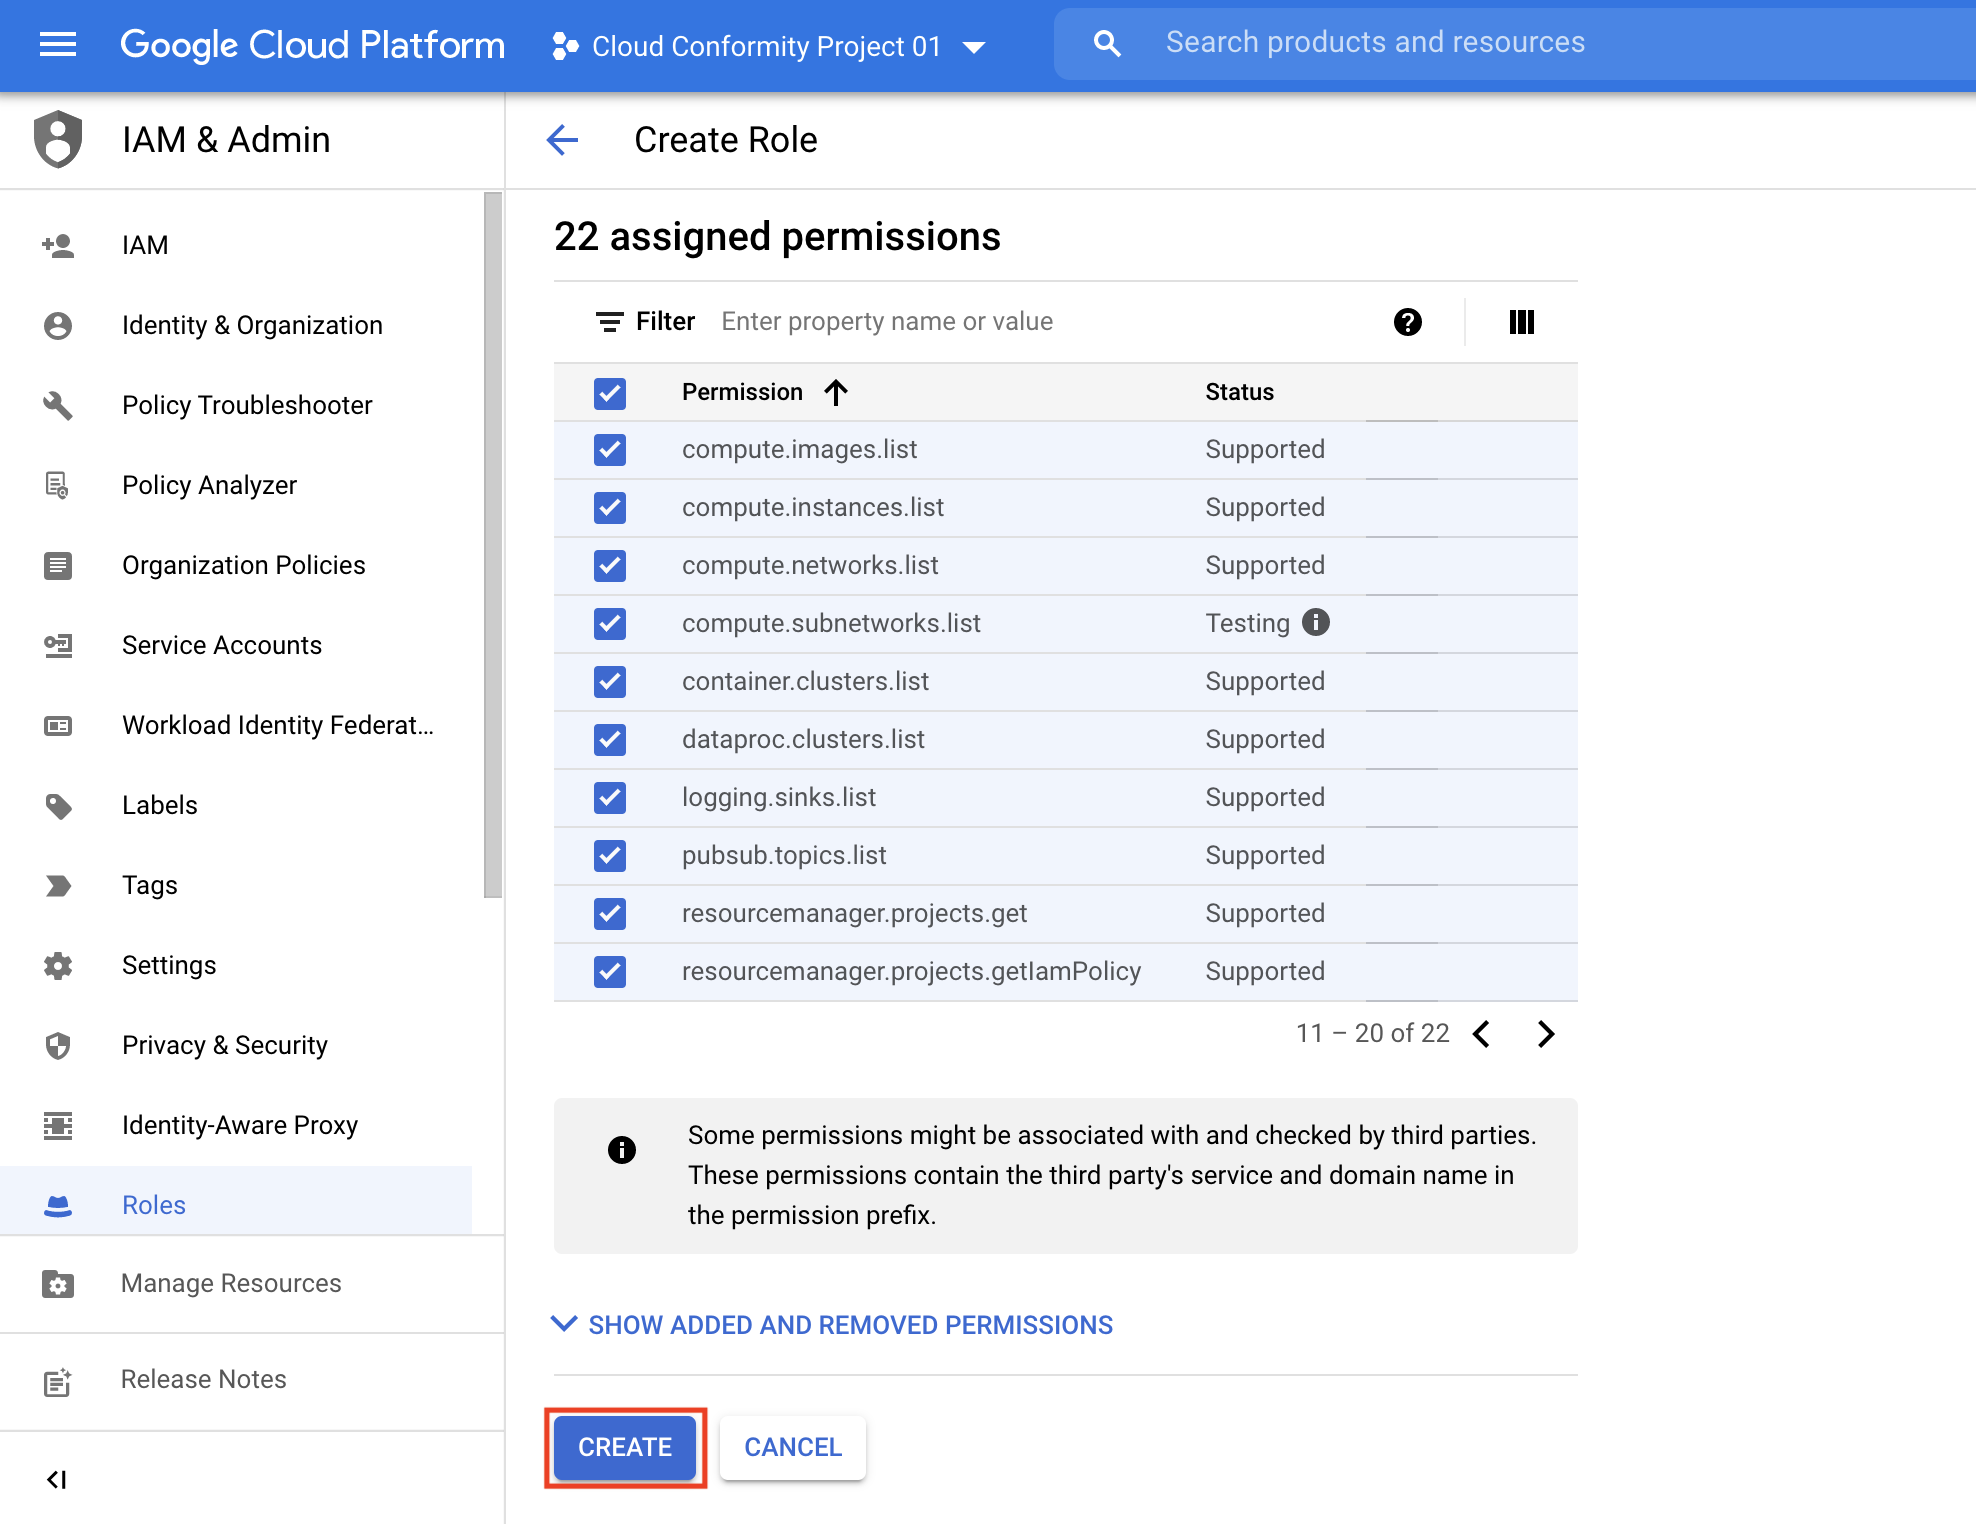
- Add the list of permissions to enable Conformity Bot and Click CREATE.
Repeat the steps from 2-7 for each GCP Project in Conformity you wish to associate a Custom Role to.
| Service | Require Permission |
|---|---|
| AlloyDB | alloydb.clusters.list alloydb.instances.list |
| ApiGateway | apigateway.gateways.list apigateway.gateways.getIamPolicy apigateway.locations.get apigateway.apis.list apigateway.apis.getIamPolicy apigateway.apis.get apigateway.apiconfigs.list apigateway.apiconfigs.getIamPolicy servicemanagement.services.get |
| Apigee | apigee.apiproducts.list apigee.deployments.list apigee.envgroupattachments.list apigee.envgroups.list apigee.environments.getStats apigee.instanceattachments.list apigee.instances.list apigee.proxies.list apigee.proxyrevisions.get |
| ArtifactRegistry | artifactregistry.repositories.getIamPolicy artifactregistry.repositories.list |
| Bigtable | bigtable.instances.list bigtable.clusters.list bigtable.instances.getIamPolicy |
| BigQuery | bigquery.datasets.get bigquery.tables.get bigquery.tables.list bigquery.tables.getIamPolicy |
| CloudAPI | apikeys.keys.list serviceusage.services.list |
| CloudIAM | resourcemanager.projects.get resourcemanager.projects.getIamPolicy iam.serviceAccounts.get accessapproval.settings.get iam.roles.list iam.serviceAccounts.list iam.serviceAccountKeys.list iam.serviceAccounts.getIamPolicy |
| CloudKMS | cloudkms.keyRings.list cloudkms.cryptoKeys.list cloudkms.cryptoKeys.getIamPolicy cloudkms.locations.list |
| CloudVPC | compute.firewalls.list compute.networks.list compute.subnetworks.list compute.subnetworks.getIamPolicy |
| CloudStorage | storage.buckets.list storage.buckets.getIamPolicy |
| ComputeEngine | compute.disks.getIamPolicy compute.disks.list compute.machineImages.getIamPolicy compute.machineImages.list compute.instances.list compute.instances.getIamPolicy compute.images.list compute.images.getIamPolicy compute.projects.get compute.instanceGroups.list compute.zones.list |
| CloudSQL | cloudSql.instances.list cloudsql.instances.listServerCas |
| CloudLoadBalancing | compute.backendServices.list compute.backendServices.getIamPolicy compute.globalForwardingRules.list compute.targetHttpsProxies.list compute.targetSslProxies.list compute.sslPolicies.list compute.urlMaps.list compute.regionBackendServices.list compute.regionBackendServices.getIamPolicy |
| CloudDNS | dns.managedZones.list dns.policies.list |
| Dataproc | dataproc.clusters.list dataproc.clusters.getIamPolicy |
| Filestore | file.instances.list |
| Firestore | datastore.databases.list |
| GKE | container.clusters.list |
| CloudLogging | logging.sinks.list logging.logMetrics.list monitoring.alertPolicies.list |
| PubSub | pubsub.topics.list pubsub.topics.get pubsub.topics.getIamPolicy pubsublite.topics.list pubsublite.topics.listSubscriptions |
| ResourceManager | resourcemanager.projects.get orgpolicy.policy.get |
| Spanner | spanner.instances.getIamPolicy spanner.instances.list |
| CertificateManager | certificatemanager.certs.list |
| Memorystore | memcache.instances.list redis.clusters.list redis.instances.list |
| NetworkConnectivity | compute.routers.list compute.vpnGateways.list compute.targetVpnGateways.list networkconnectivity.hubs.list networkconnectivity.hubs.listSpokes |
| CloudFunctions | cloudfunctions.functions.list cloudfunctions.functions.getIamPolicy |
Alternative: Create a custom role using a YAML file:
-
To create a custom role at the project level, execute the following command:
gcloud iam roles create (role-id) --project=(project-id) --file=(yaml-file-path) -
To create a custom role at the organization level, execute the following command:
gcloud iam roles create (role-id) --organization=(organization-id) --file=(yaml-file-path)
The example YAML file demonstrates Conformity Bot required permissions:
title: "Cloud One Conformity Bot Access"
description: "Project level Custom Role for Cloud One Conformity access "
stage: "ALPHA"

includedPermissions:
- alloydb.clusters.list
- alloydb.instances.list
- accessapproval.settings.get
- apigateway.locations.get
- apigateway.gateways.list
- apigateway.gateways.getIamPolicy
- apigateway.apis.list
- apigateway.apis.getIamPolicy
- apigateway.apis.get
- apigateway.apiconfigs.list
- apigateway.apiconfigs.getIamPolicy
- apigee.apiproducts.list
- apigee.deployments.list
- apigee.envgroupattachments.list
- apigee.envgroups.list
- apigee.environments.getStats
- apigee.instanceattachments.list
- apigee.instances.list
- apigee.proxies.list
- apigee.proxyrevisions.get
- apikeys.keys.list
- artifactregistry.repositories.getIamPolicy
- artifactregistry.repositories.list
- bigtable.instances.list
- bigtable.clusters.list
- bigtable.instances.getIamPolicy
- bigquery.datasets.get
- bigquery.tables.get
- bigquery.tables.list
- bigquery.tables.getIamPolicy
- cloudkms.cryptoKeys.getIamPolicy
- cloudkms.cryptoKeys.list
- cloudkms.keyRings.list
- cloudkms.locations.list
- cloudsql.instances.list
- cloudsql.instances.listServerCas
- compute.backendServices.list
- compute.backendServices.getIamPolicy
- compute.disks.getIamPolicy
- compute.disks.list
- compute.machineImages.getIamPolicy
- compute.machineImages.list
- compute.regionBackendServices.list
- compute.regionBackendServices.getIamPolicy
- compute.firewalls.list
- compute.globalForwardingRules.list
- compute.images.getIamPolicy
- compute.images.list
- compute.instances.list
- compute.instances.getIamPolicy
- compute.networks.list
- compute.subnetworks.list
- compute.subnetworks.getIamPolicy
- compute.projects.get
- compute.targetHttpsProxies.list
- compute.targetSslProxies.list
- compute.sslPolicies.list
- compute.urlMaps.list
- compute.instanceGroups.list
- compute.vpnGateways.list
- compute.zones.list
- container.clusters.list
- dataproc.clusters.list
- dataproc.clusters.getIamPolicy
- datastore.databases.list
- dns.policies.list
- dns.managedZones.list
- file.instances.list
- iam.serviceAccounts.get
- iam.serviceAccounts.list
- iam.serviceAccountKeys.list
- iam.serviceAccounts.getIamPolicy
- iam.roles.list
- logging.sinks.list
- logging.logMetrics.list
- monitoring.alertPolicies.list
- memcache.instances.list
- orgpolicy.policy.get
- pubsub.topics.list
- pubsublite.topics.list
- pubsublite.topics.listSubscriptions
- redis.clusters.list
- redis.instances.list
- resourcemanager.projects.get
- resourcemanager.projects.getIamPolicy
- servicemanagement.services.get
- serviceusage.services.list
- spanner.instances.getIamPolicy
- spanner.instances.list
- storage.buckets.getIamPolicy
- storage.buckets.list
- certificatemanager.certs.list
- compute.routers.list
- compute.targetVpnGateways.list
- networkconnectivity.hubs.list
- networkconnectivity.hubs.listSpokes
- cloudfunctions.functions.list
- cloudfunctions.functions.getIamPolicy
Create a Service Account
Before you begin, make sure you've enabled the GCP APIs. See Prerequisite: Enable the Google APIs and Create a Custom Role.
- Select any Project from your existing GCP account, For example: Cloud Conformity Project 01.
- Click Google Cloud Platform at the top to make sure you're on the home screen.
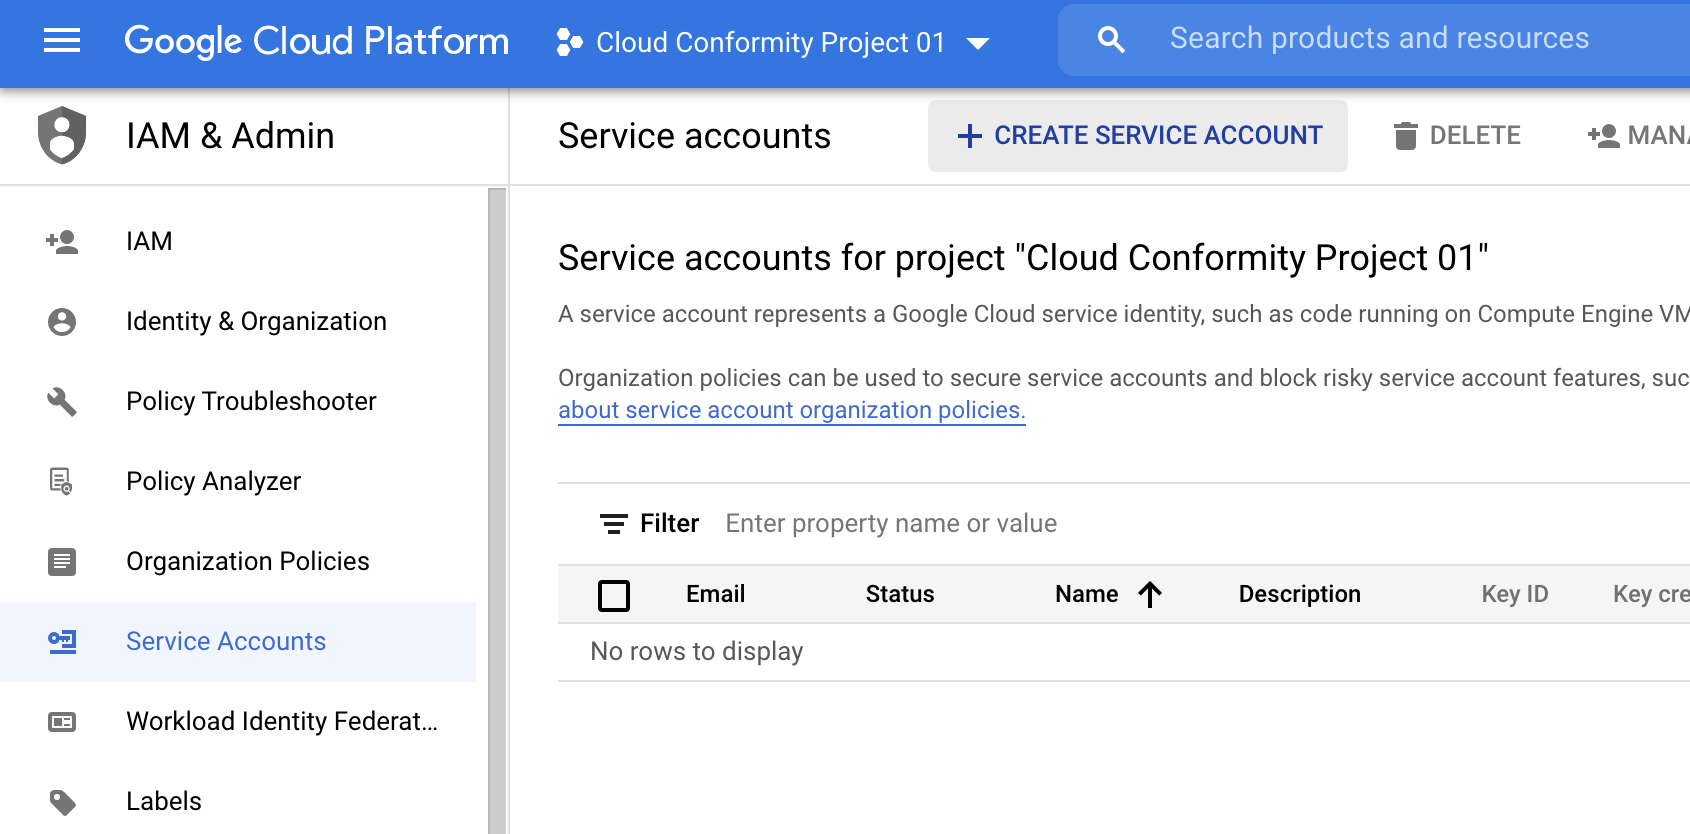
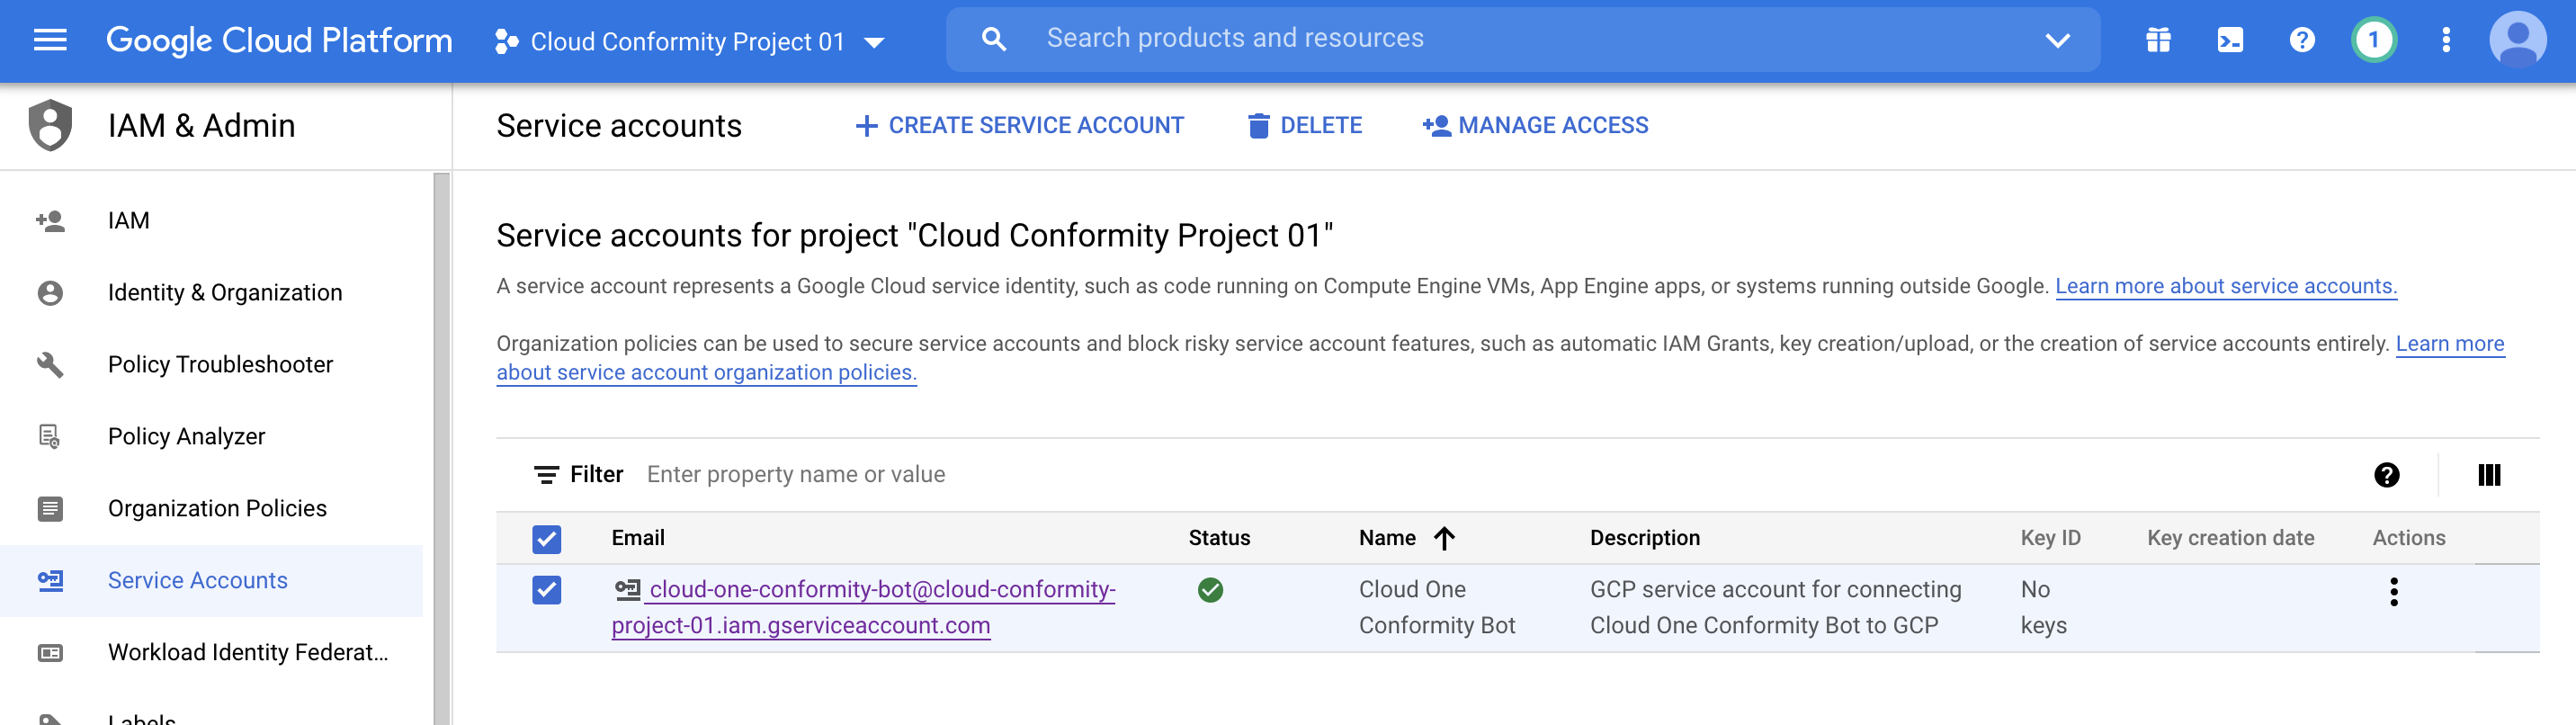
- From the tree view on the left, select IAM & admin > Service accounts.
- Click + CREATE SERVICE ACCOUNT.
-
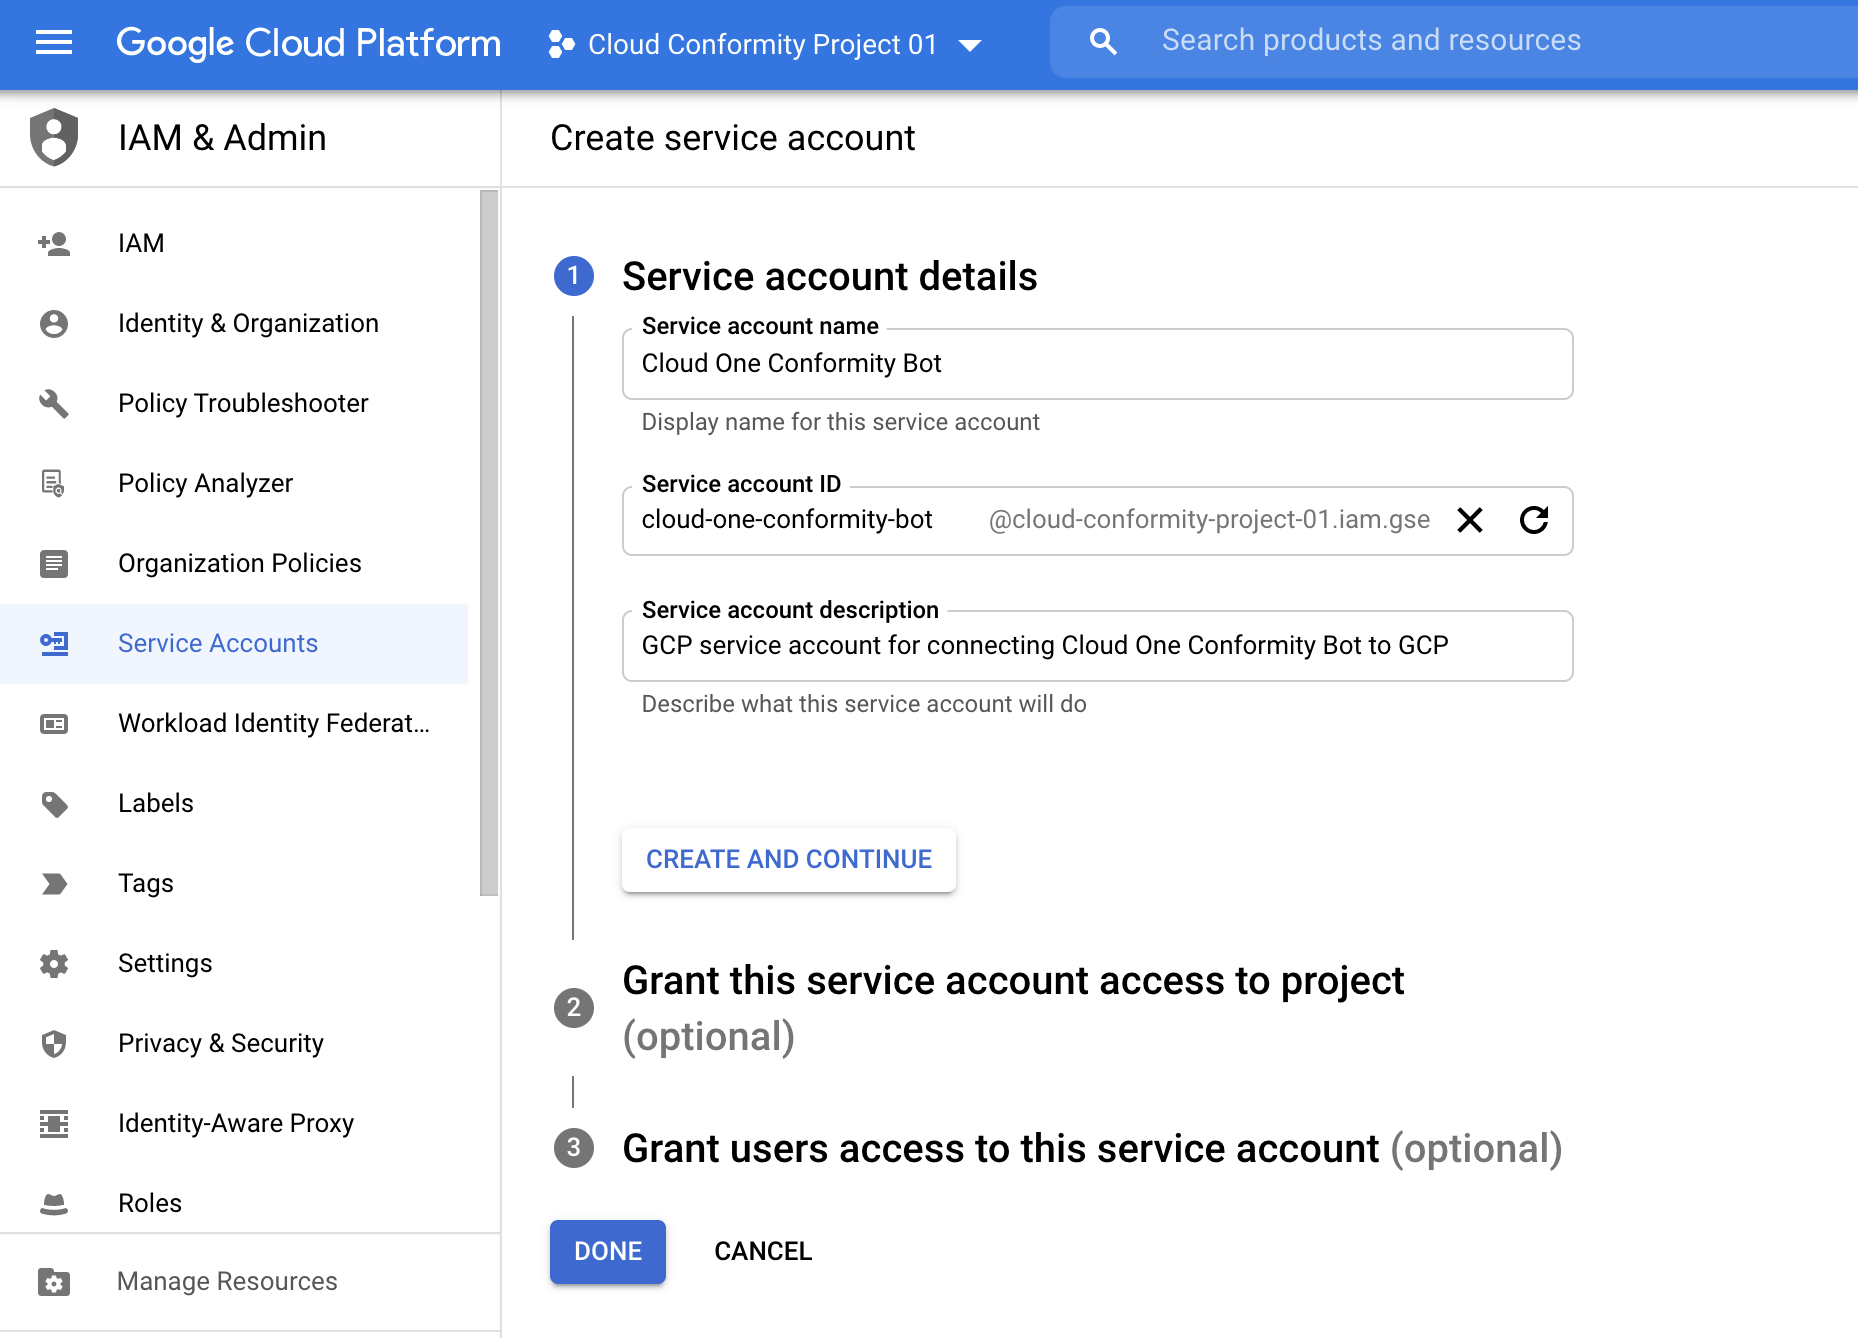
Enter the Service account details, I.e., Service account name, ID, and description.
For Example:- Service account name: Cloud One Conformity Bot
- Service account ID: cloud-one-conformity-bot[@
.iam.gserviceaccount.com] *(mailto:gcp-deep-security@%3Cyour_project_ID%3E.iam.gserviceaccount.com) - Service account description: _GCP service account for connecting Cloud One Conformity Bot to GCP.
-
Click CREATE AND CONTINUE.
-
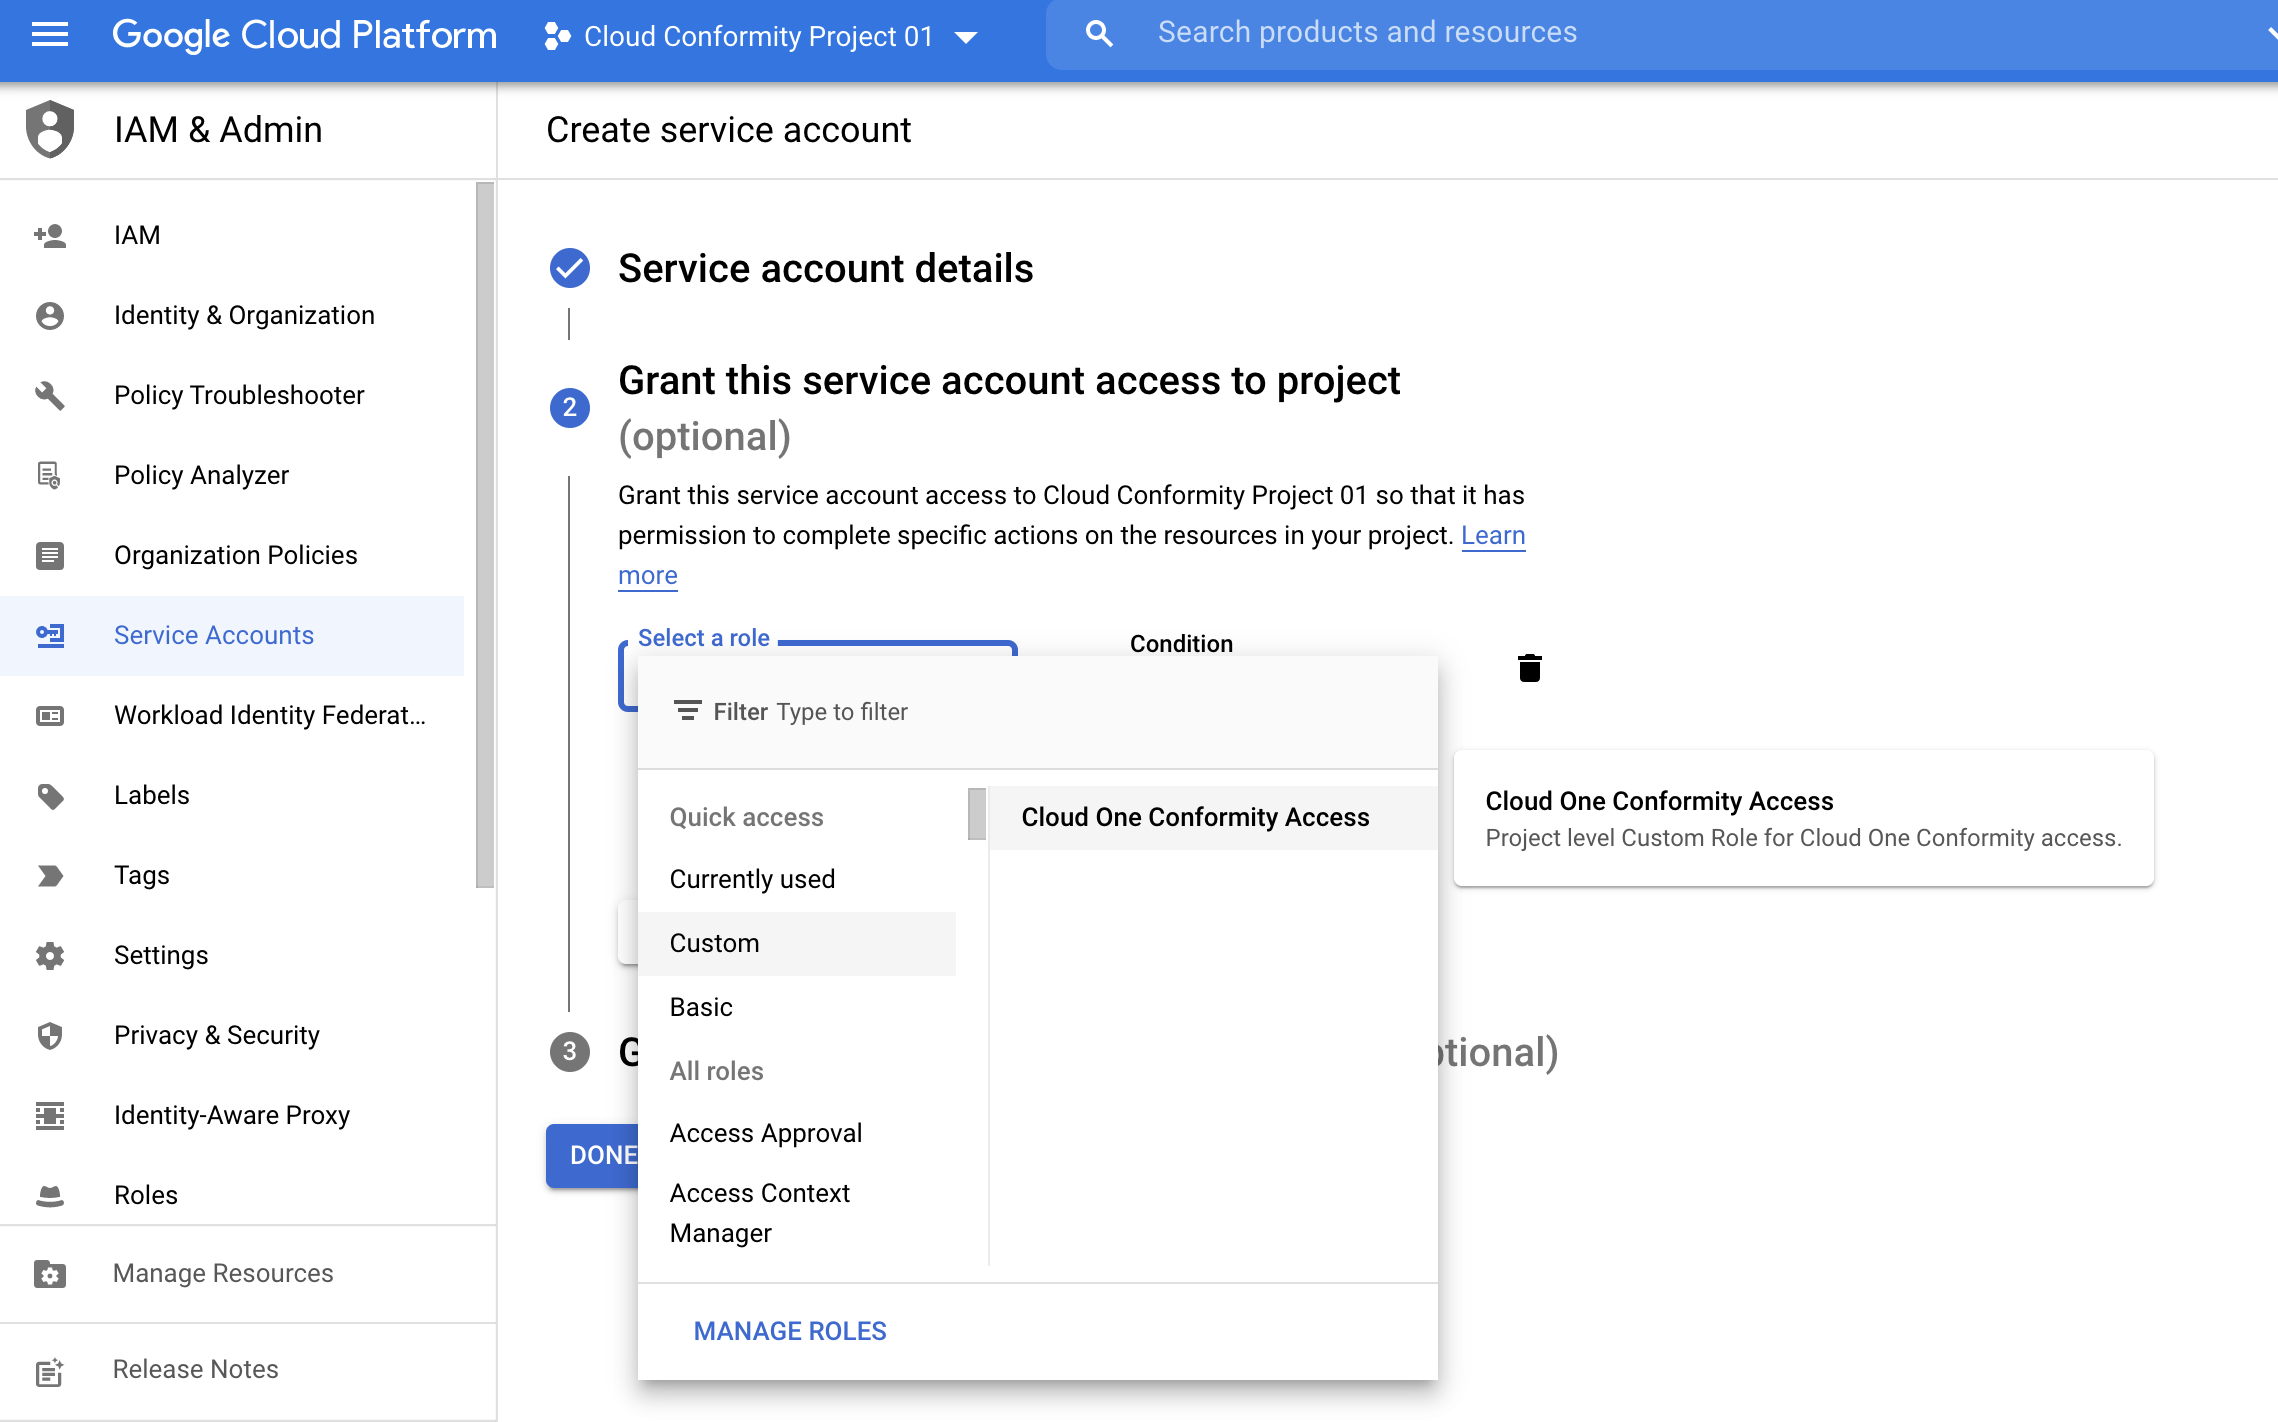
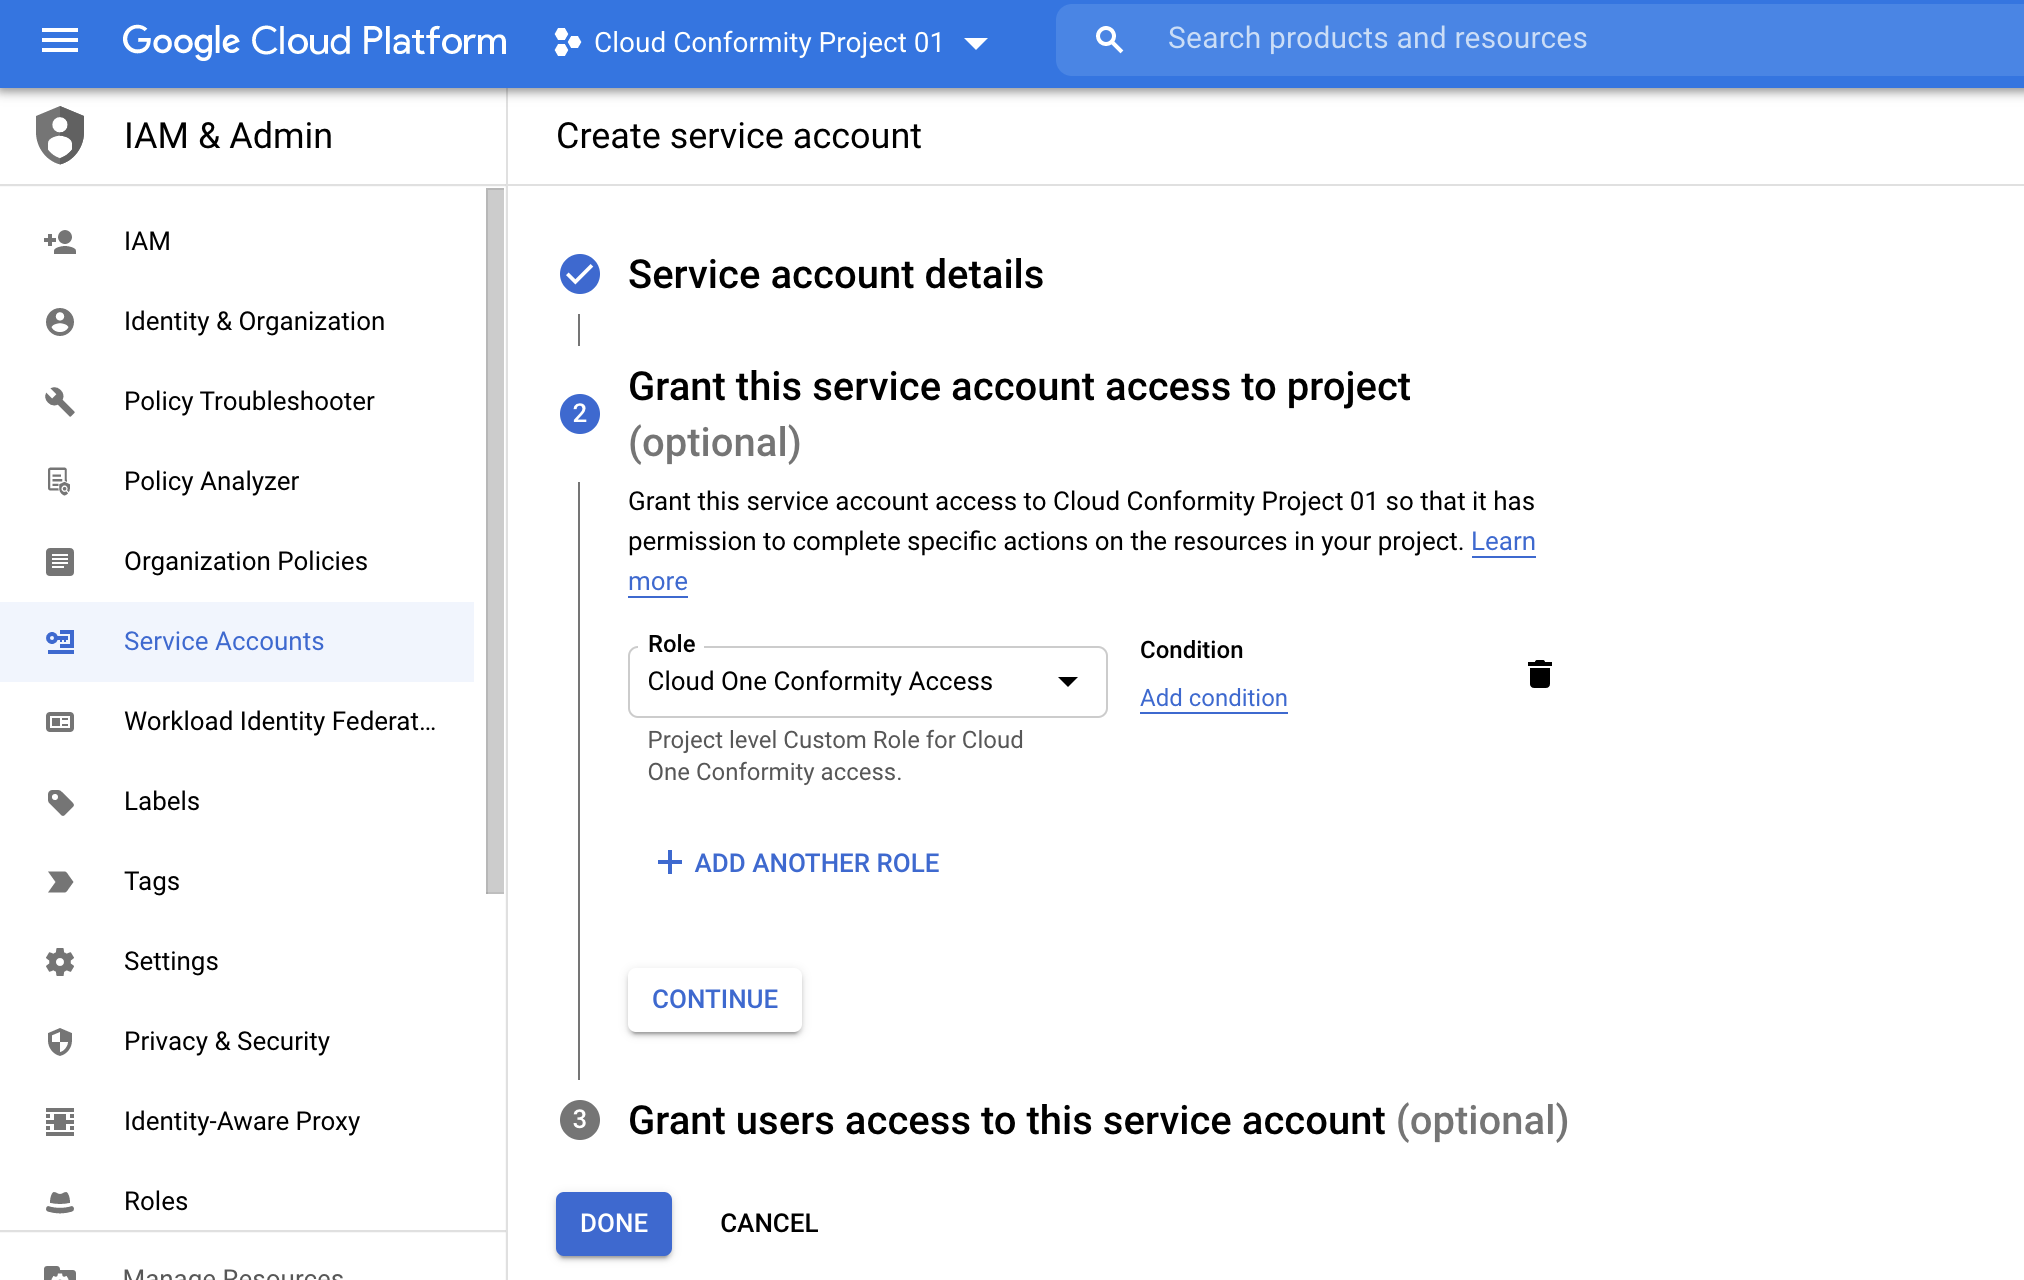
From the Select a role drop-down list, select the Custom > Cloud One Conformity Access role, or click inside the Type to filter area and enter Cloud One Conformity Access to find it.
-
Click CONTINUE.
-
Click DONE to grant users access to this service account. Your service account will be listed under the “Service accounts’ tab.
-
Select and click the Project name from the Service Accounts page.
-
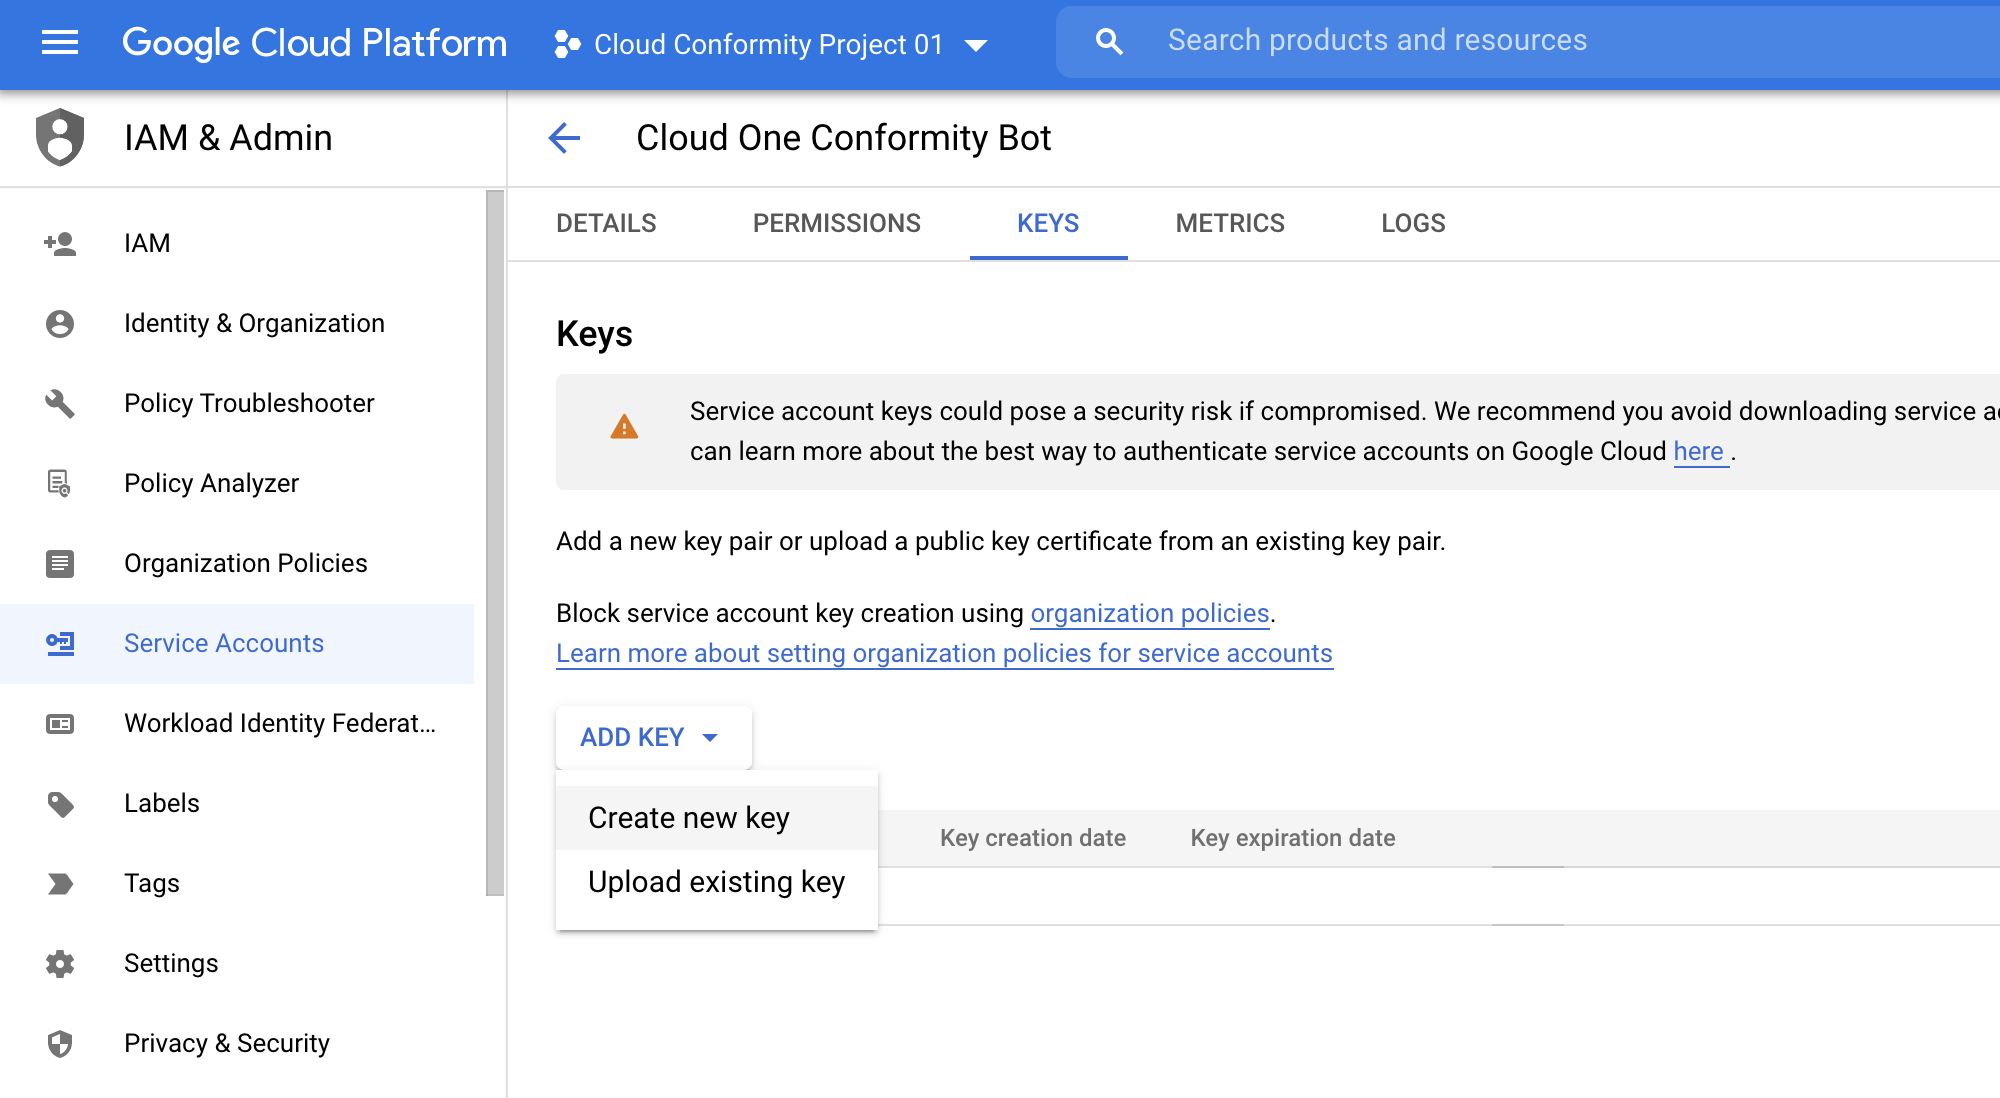
Go to the KEYS tab and click ADD KEY to create new key.
-
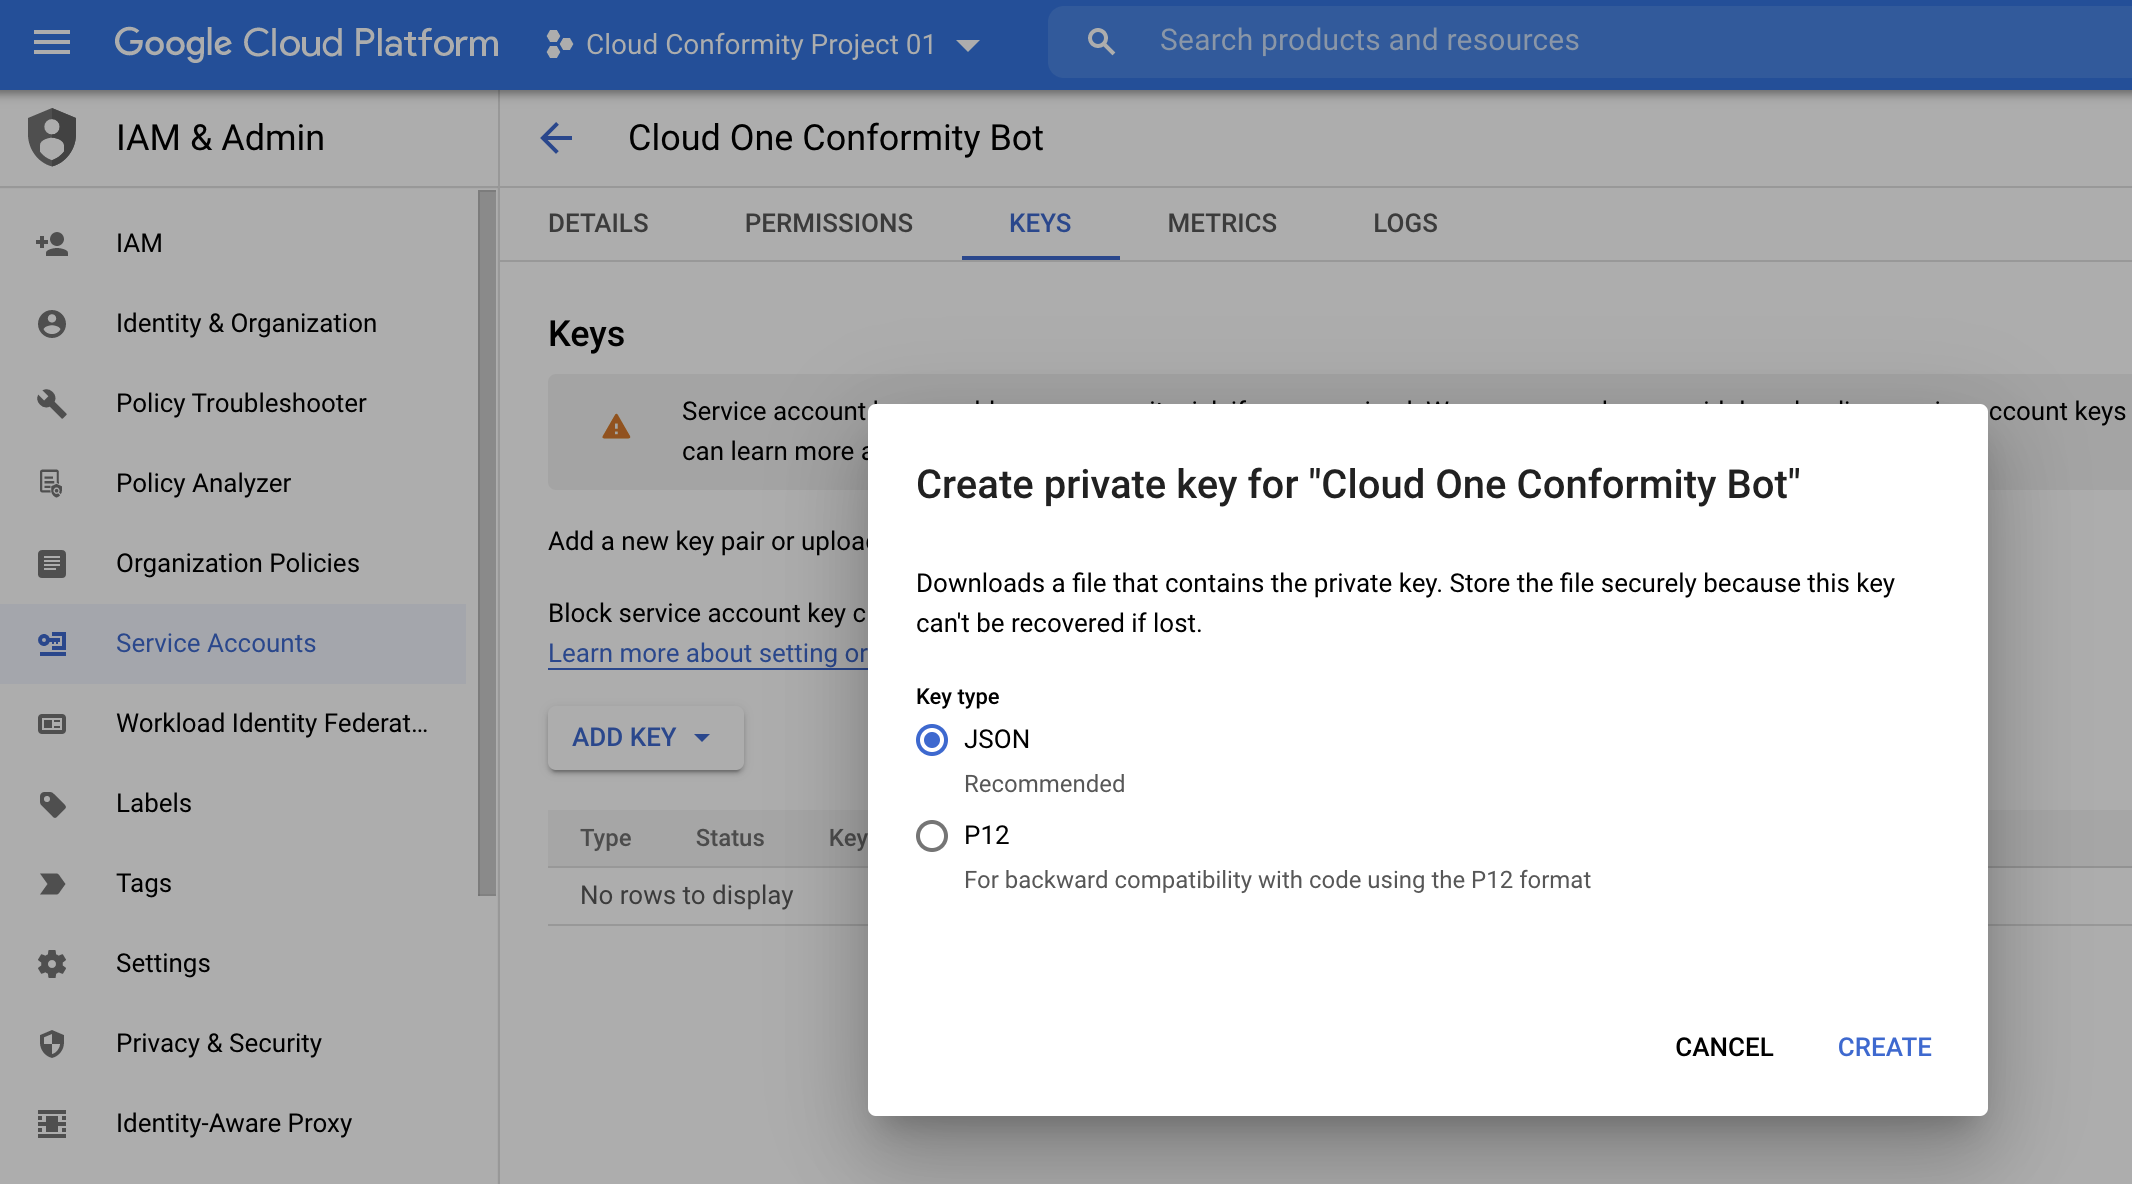
Select JSON and click CREATE.
-
Save the key (JSON file) to a safe place. Important: Place the JSON file in a location that is accessible for later upload. If you need to move or distribute the file, make sure you do so by using secure methods.
-
Click CLOSE.
You have now created a GCP service account with necessary roles, as well as a service account key in JSON format. The service account is created under the selected project (Project01) and it can be associated with additional projects. For details, see the following section.
Assign Access to the Service Account for Projects
If you have multiple projects in GCP, you must associate them with a service account you just created. Once you assign access to the service account, all your projects will be visible in the Conformity.
Important: Before you begin, make sure you have completed Prerequisite: Enable the Google APIs and Create a GCP service account.
- Determine the email of the GCP service account you just created:
- From your GCP account, select the project under which you created the GCP service account (in our example, Cloud Conformity Project 01).
- On the left, expand IAM & Admin > Service accounts.
- In the main pane, look under the Email column to find the GCP service account email. For example: cloud-one-conformity-bot@cloud-conformity-project-01.iam.gserviceaccount.com
- The service account email includes the name of the project under which it was created.
- Note this address or copy it to the clipboard.
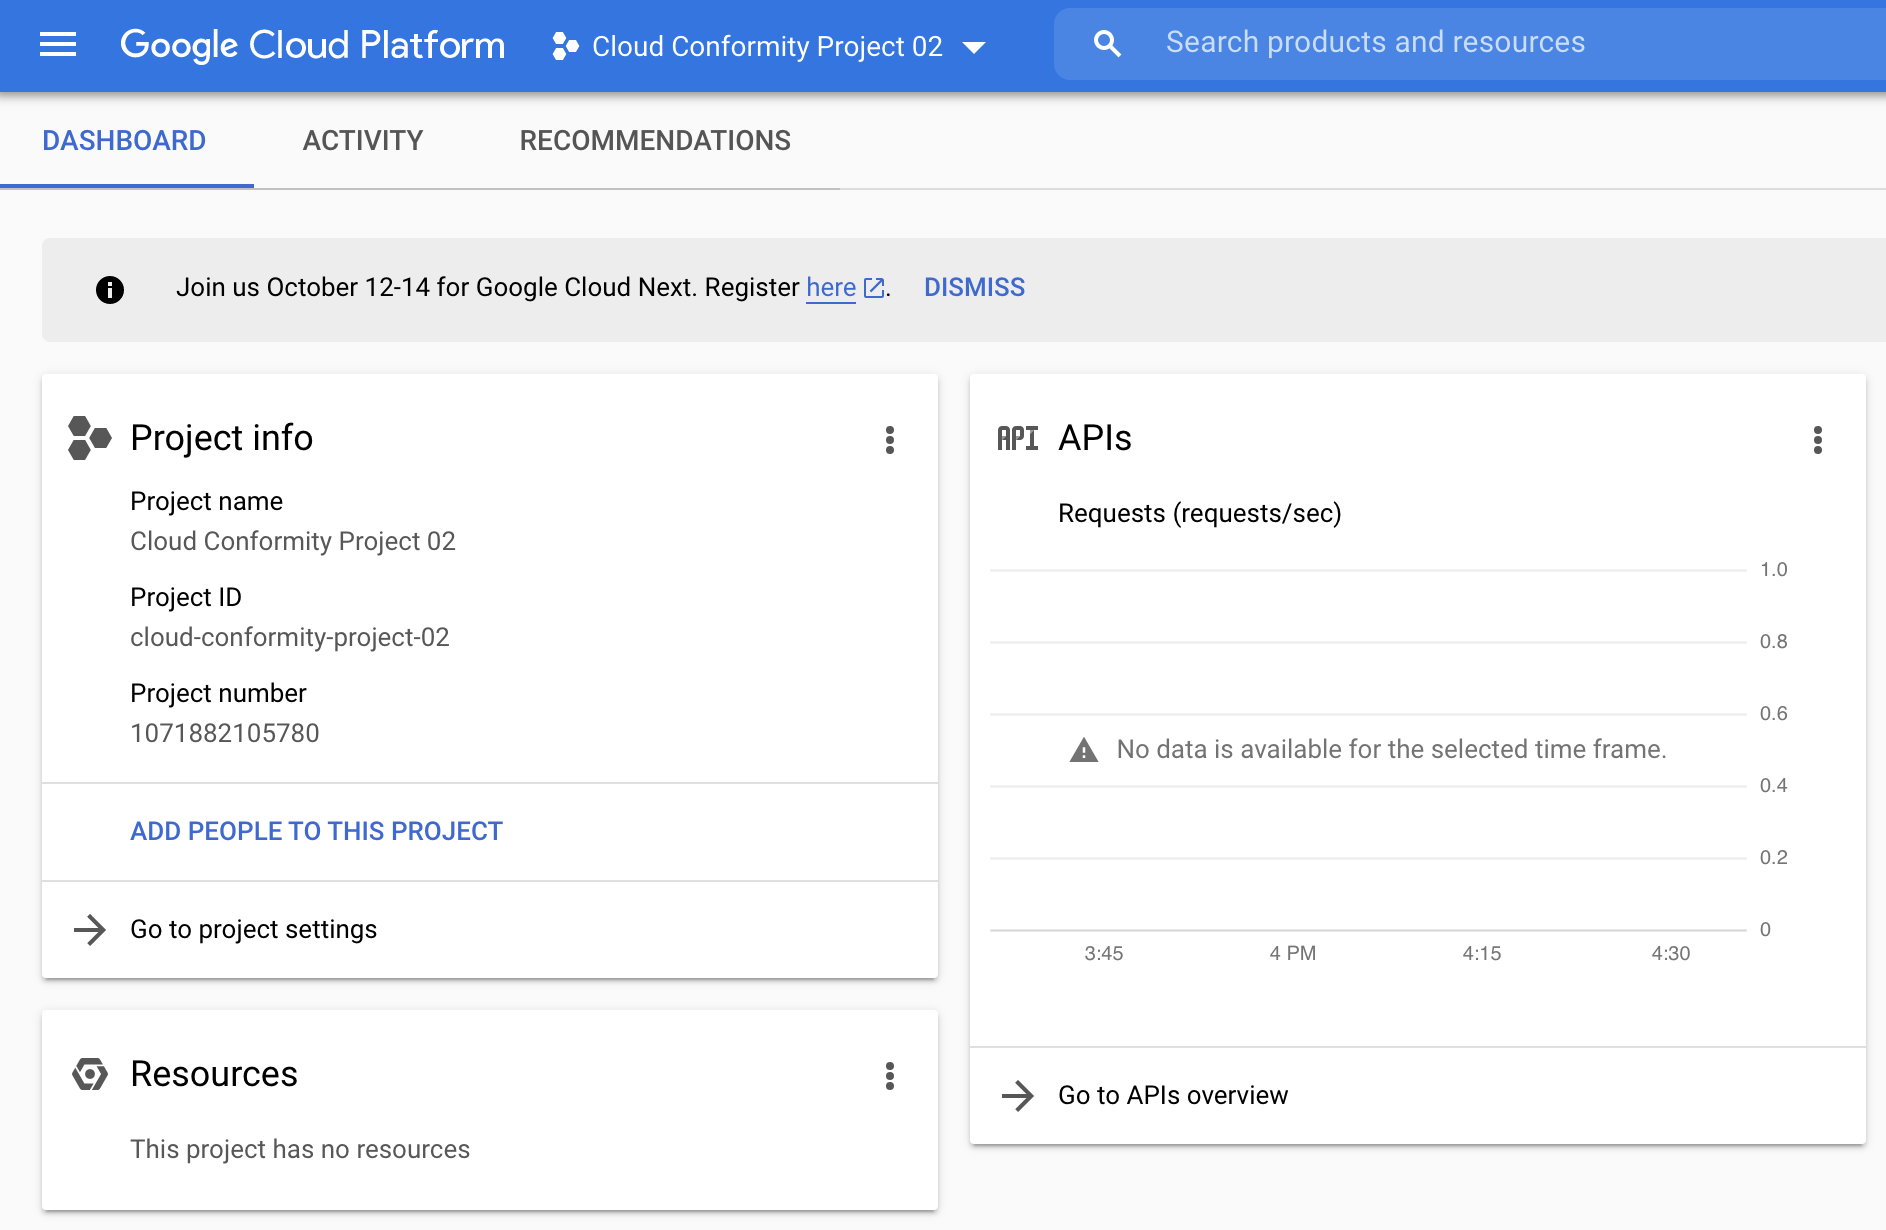
- Go to another project by selecting it from the drop-down list at the top. For example: Cloud Conformity Project 02.
- Click Google Cloud Platform at the top to make sure you're on the home screen.
-
From the tree view on the left, click IAM & Admin > IAM.
-
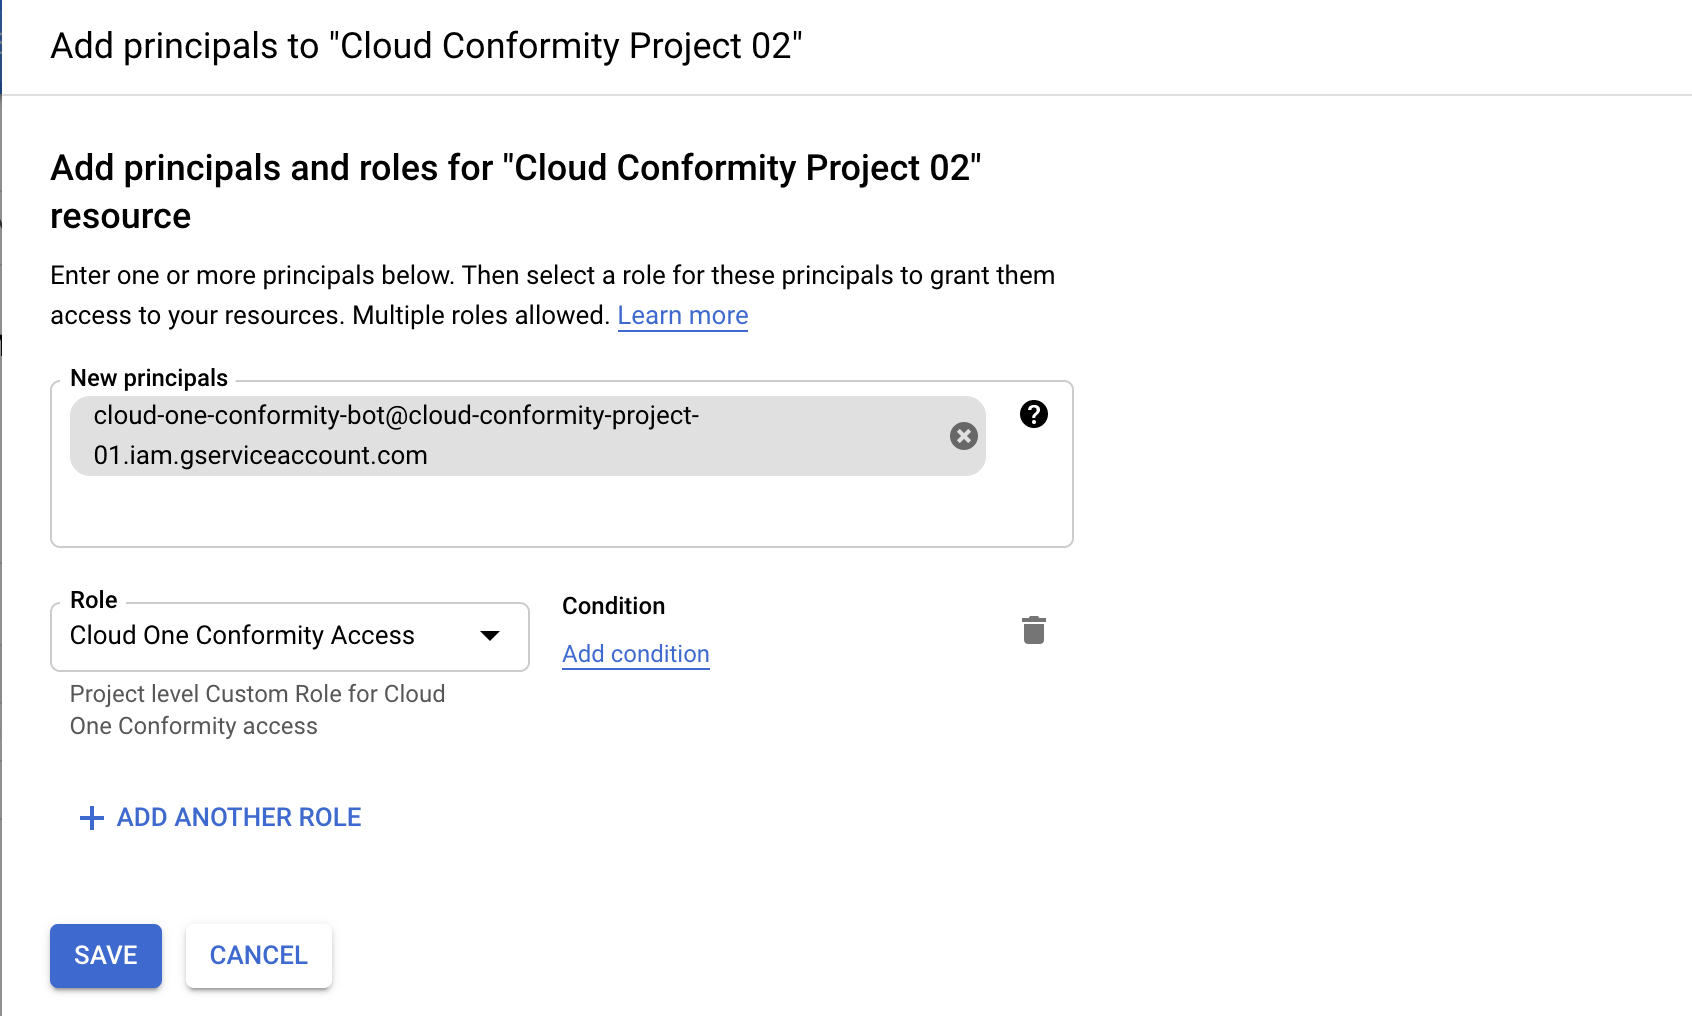
Click ADD at the top of the main pane.
- In the New members field, paste the Cloud Conformity Project 01 GCP service account email address. For example: cloud-one-conformity-bot@cloud-conformity-project-01.iam.gserviceaccount.com
- From the Select a role drop-down list, select the Custom > Conformity Bot role, or click inside the Type to filter area and enter Conformity Bot to find it.
-
Click SAVE.
-
Repeat steps 1 - 8 for each project you want to associate with the GCP service account.
For more information, see this help page from Google on how to create a service account.
You are now ready to add the GCP account you just created to Conformity.
Add a GCP account to Conformity
- If you have not done so already, create a Google Cloud Platform service account for Conformity.
- In the Conformity console, go to Add an account.
- Select GCP Project.
- Enter a Service Account display Name. Examples: GCP Conformity.
- Click Browse to upload the Google Service Account key JSON. The key is the JSON file that you saved earlier, when creating the GCP service account. See Create a service account for details.
- Click Next.
- Select the GCP Projects you wish to add to Conformity and click Next.
- Review the summary information and click Finish.
Once your GCP Project is successfully added to Conformity, you will be able to view the following updates: * Conformity Bot will begin scanning the newly added accounts. * The Conformity console displays your GCP service account and its associated projects in their group on the menu. * Repeat the steps in this procedure for each GCP service account you want to add.
Remove Service Accounts from Conformity
- From your Conformity account, go to Administration.
- Select Subscriptions.
- Click Delete… on the existing Service Account.
Note: Service Accounts can only be deleted once all their Projects have been removed.