このページのトピック
Amazon SNSを設定する
Application Security は、AWS GovCloudまたは中国でのAmazon SNSの統合をサポートしていません。
AWSアカウントがある場合は、Amazon Simple Notification Service (SNS)を利用して、 Application Security イベントに関する通知を発行し、サブスクライバに配信できます。SNSの詳細については、https://aws.amazon.com/sns/を参照してください。
役割を作成する
- Application Security の左側のメニューで、
 をクリックします。
 - [ Add Integration ]にクリックします。
- [ Amazon SNS ]ます。
- External ID をクリップボードにコピーします。このIDは手順6で使用します。
- AWSコンソールに移動し、 Identity and Access Management (IAM) ページに移動します。
-
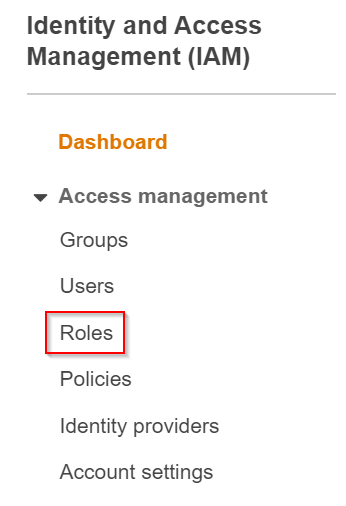
[ Access management ]で、[ Roles ]を選択します。
-
[ Create role ]→[ Another AWS account ]の順に選択します。
- Account IDに、_800880067056_と入力します。
-
[ Require external ID (Best practice when a third party will assume this role) ]を選択し、上記でコピーしたIDを貼り付けます。 Require MFA は無効のままにしてください。完了したら、[ Next: Permissions ]を選択します。

-
[ Create Policy]を選択します。新しいウィンドウが開きます。
-
Visual Editor または JSONを使用してポリシーを設定できます。
-
Visual Editorを使用してポリシーを作成するには
- [ Choose a Service ]で、[ SNS ]を選択します。
-
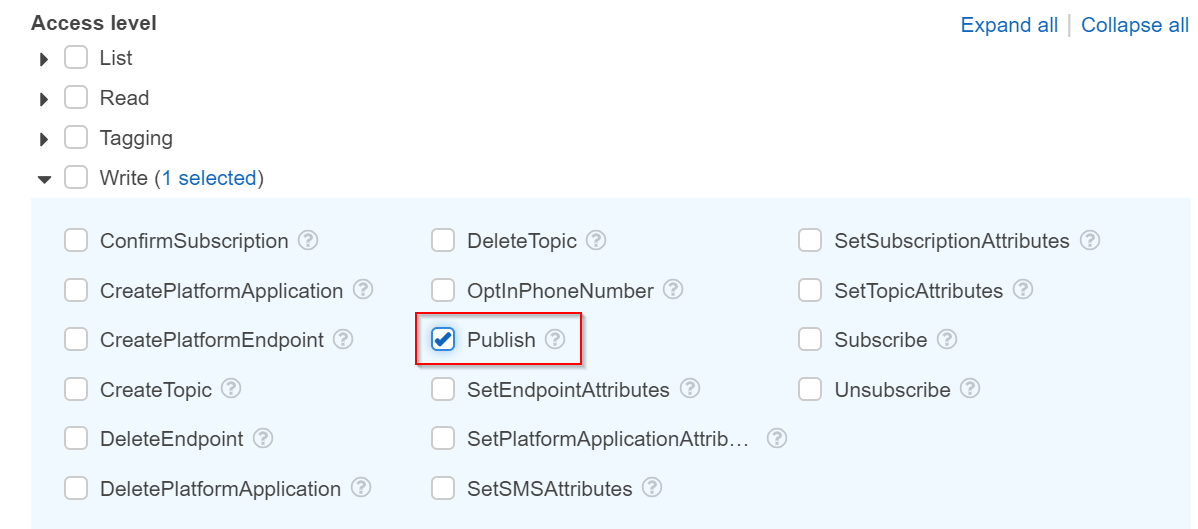
[ Access Level ]で、[ Write ]セクションを開き、[ Publish ]を選択します。
-
[ Resources ]で[ Specific ]を選択し、トピックリソースのARNを指定します。
JSON でポリシーを作成するには、次のように入力します。
{
  "Version": "2012-10-17",
  "Statement": [
    {
      "Effect": "Allow",
        "Action": "sns:Publish",
        "Resource": {"Ref": "MySNSTopic"}
    }
  ]
}
-
-
[ Review Policy ]を選択します。
-
ポリシーの名前(例: CloudOneAppSecAWSIntegrationPolicy)を入力し、説明を入力します。完了したら、[ Create Policy ]を選択します。
- Create role ウィンドウに戻り、ページを更新します。作成したポリシーを選択します。
- [ Next: Tags ] および [Next: Review]を選択します。
- 役割に名前(ポリシーと同じ名前を使用できます)と説明を入力し、[ Create role ]を選択します。
Application Securityとの統合
- Application Security の左側のメニューで、をクリックします。
- 右上隅から[ Add Integration ]を選択します。
- ポップアップ画面から[ Amazon SNS ]を選択します。
- [ Configure SNS Integration ]画面で、次のフィールドに入力します。
- Account ID:個人のアカウントID。
- Role Name:作成したロールの名前。
- External ID:役割の作成時に使用した外部IDです。
- Key Hint: Application Security をAmazon SNSと統合するために使用された外部IDを覚えておくのに役立つヒントです。
- Region:SNSトピックが含まれるリージョンです。 AWSリージョン は、AWSコンソールの右上隅にあります。
- Topic Name:トピックの名前。詳細については、「トピックの作成」を参照してください。
- Notification Format:アラートがある場合に送信されるペイロードの形式。現在サポートされているオプションは[テキスト]または[Json]で、初期設定値は[テキスト]です。
- Minimum Reported Severity:Slackチャネルに送信するアラートの最小重大度。低、中、高から選択できます。
- [ Add Integration ]を選択します。
Application Securityと統合するには、次のスキーマ形式を使用します。
{
  "type": "array",
  "items": {
    "type": "object",
    "properties": {
      "timestamp": {
        "type": "string",
        "format": "date-time"
      },
      "action": {
        "enum": [
          "blocked",
          "detected"
        ],
        "type": "string"
      },
      "event_type": {
        "enum": [
          "file_access",
          "malicious_file_upload",
          "malicious_payload",
          "rce",
          "redirect",
          "sqli"
        ],
        "type": "string"
      },
      "severity": {
        "enum": [
          "high",
          "low",
          "medium"
        ],
        "type": "string"
      },
      "group": {
        "type": "string"
      },
      "dashboard_link": {
        "type": "string"
      }
    },
    "required": [
      "event_type",
      "severity"
    ],
    "additionalProperties": false
  }
}